Online Sale!
100% Guaranteed Genuine Parts
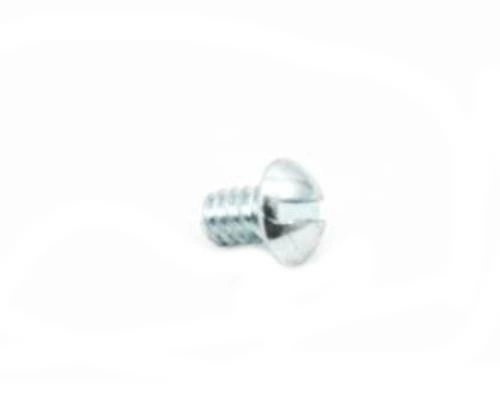
WP4159193 Whirlpool Screw
WP4159193 Whirlpool Screw
Weight : 0.01 lbs
Package Dimension : 0.25 x 0.25 x 0.25
Compatible Brands


About this product
WP4159193 Whirlpool Screw
Weight : 0.01 lbs
Package Dimension : 0.25 x 0.25 x 0.25
The following parts are replaced by this product
- 7101P112-60
- 7101P115-60
- 757164
- 71003542
- 31750501
- 7103P053-60
- 4159193
Replacing the Whirlpool WP4159193 Screw
DIY Guide to Replacing a Whirlpool WP4159193 Screw
If your Whirlpool appliance is in need of a new screw, you don’t need to call a professional – you can replace the Whirlpool WP4159193 screw yourself with these easy steps.
Before You Begin
Before replacing the screw, make sure you have all of the necessary tools for the job. You will need:
• A Phillips-head screw driver
• A flathead screwdriver
• The replacement Whirlpool WP4159193 screw.
Step 1: Preparing the Area
Before you begin, make sure the area around your appliance is clean and free from obstacles that could interfere with the installation process. This will make it easier for you to work and reduce the risk of damaging any nearby components.
Step 2: Removing the Old Screw
Once the area is cleared of debris, use the Phillips-head screwdriver to remove the old Whirlpool WP4159193 screw. Once loose, use the flathead screwdriver to gently pry the screw out of the appliance.
Step 3: Inserting the New Screw
Take the new Whirlpool WP4159193 screw, align it with its hole, and insert it into the appliance. Then, use the Phillips-head screwdriver to secure it in place. Make sure it's tightened properly to ensure a secure fit.
Step 4: Testing
Once the new Whirlpool WP4159193 screw is in place, test the appliance to make sure it functions properly with the new screw. Once confirmed, you have successfully replaced the Whirlpool WP4159193 screw.
Congratulations! You have successfully replaced the Whirlpool WP4159193 screw. By following the steps above, you avoided the hassle of hiring a professional and saved time and money.
Please keep in mind, these instructions are for general guidance and should always be used in conjunction with the manufacturer's manual, if available.


