Online Sale!
100% Guaranteed Genuine Parts
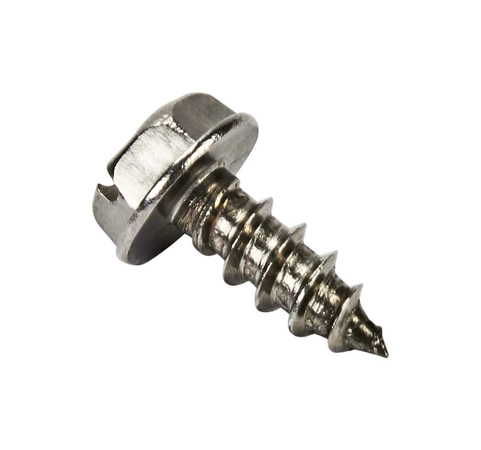
WP681414 Whirlpool Screw
WP681414 Whirlpool Screw
Weight : 0.01 lbs
Package Dimension : 0.75 x 0.75 x 0.50
Compatible Brands


About this product
WP681414 Whirlpool Screw
Weight : 0.01 lbs
Package Dimension : 0.75 x 0.75 x 0.50
DIY - How to Replace a Whirlpool WP681414 SCREW
This guide will explain the steps for replacing a Whirlpool WP681414 screw. Replacing the screw on your own can save money and time, as you won't need to wait for a professional to come and do it. With the right tools and preparation, you'll be able to get the job done quickly.
Tools you will need:
-Flathead screwdriver
-Phillips head screwdriver
-Socket wrench
-Replacement Whirlpool WP681414 screw
Step 1: Prepare the Area: First, make sure that the area around the screw is clean and free of any debris. This will help ensure that the replacement process goes off without a hitch.
Step 2: Unscrew the Old Screw: With a flathead or Phillips head screwdriver, unscrew the old Whirlpool WP681414 screw. You may have to use a socket wrench for tight screws.
Step 3: Clean the Hole: Once the old screw is out, use a cloth to clean the hole and remove any dirt or residue. This will help the new screw go in more easily.
Step 4: Insert New Screw: Take the new Whirlpool WP681414 screw and insert it into the hole. Make sure that it's securely in place and doesn't move.
Step 5: Tighten the New Screw: Use a screwdriver or wrench to tighten the new Whirlpool WP681414 screw. Make sure not to overtighten, as this could damage the screw or the surrounding area.
And that's it! You've now successfully replaced the Whirlpool WP681414 screw. With careful preparation and the proper tools, the job should have been relatively easy and hassle-free.
Please keep in mind, these instructions are for general guidance and should always be used in conjunction with the manufacturer's manual, if available.


