Online Sale!
100% Guaranteed Genuine Parts
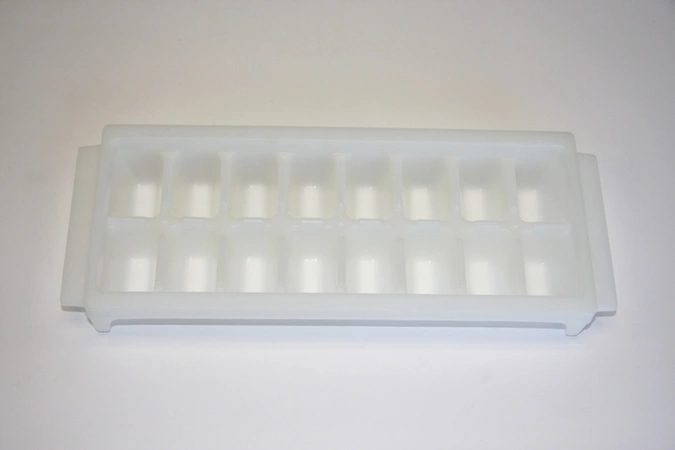
WP841180A Whirlpool Microwave Glass Turntable Tray
WP841180A is an original equipment manufactured (OEM) part. Ensure your microwave operates smoothly with the durable glass turntable tray designed for optimal performance. This replacement part, crafted for select Whirlpool models, guarantees compatibility with a range of brands including Admiral, Amana, Jenn-Air, Kenmore, Kitchenaid, Magic Chef, Maytag, Norge, and Roper. Made from high-quality materials, it provides a reliable solution for even cooking and heating. Whether you're replacing a broken tray or upgrading your existing one, this turntable enhances your microwave's functionality and efficiency. Installation is straightforward, making it an ideal choice for your appliance maintenance needs. Keep your kitchen running seamlessly with this essential component tailored for various refrigerator parts.
Weight : 2.26 lbs
Package Dimension : 11.38 x 5.12 x 5.39
Compatible Brands


About this product
WP841180A is an original equipment manufactured (OEM) part. Ensure your microwave operates smoothly with the durable glass turntable tray designed for optimal performance. This replacement part, crafted for select Whirlpool models, guarantees compatibility with a range of brands including Admiral, Amana, Jenn-Air, Kenmore, Kitchenaid, Magic Chef, Maytag, Norge, and Roper. Made from high-quality materials, it provides a reliable solution for even cooking and heating. Whether you're replacing a broken tray or upgrading your existing one, this turntable enhances your microwave's functionality and efficiency. Installation is straightforward, making it an ideal choice for your appliance maintenance needs. Keep your kitchen running seamlessly with this essential component tailored for various refrigerator parts.
Weight : 2.26 lbs
Package Dimension : 11.38 x 5.12 x 5.39
How to Replace a Whirlpool WP841180A Tray
Replacing the tray on a Whirlpool WP841180A refrigerator isn’t a difficult task, but it does require some basic knowledge of appliance repair. Follow these DIY steps to make sure you do the job right.
1. Unplug the refrigerator and remove all items out of it. This includes any food and shelves in the refrigerator that are removable.
2. Empty the ice bin out of the refrigerator as you will have to access the area where it is located.
3. Use a screwdriver to remove the screws that hold the ice bin in place. Once the screws are taken out, carefully lift the bin out of the refrigerator. Be careful not to damage the bin or other parts of the refrigerator.
4. Remove the screws from the back of the refrigerator that hold the tray in place. Once the screws are removed, the tray should come loose. If the tray is still stuck, you may need to apply some force to release it from the refrigerator.
5. Take the old tray out of the refrigerator and set aside. Place the new tray into the refrigerator, making sure all the holes align properly.
6. Replace the screws and reinstall the ice bin. Make sure all screws are tight and secure.
7. Reattach any shelves, drawers, or shelves that were removed. Make sure to check that everything is securely held in place.
8. Plug the refrigerator back in and allow it to get back to the desired temperature. Finally, enjoy your freshly installed tray!
Please keep in mind, these instructions are for general guidance and should always be used in conjunction with the manufacturer's manual, if available.
Write Your Own Review


