Online Sale!
100% Guaranteed Genuine Parts
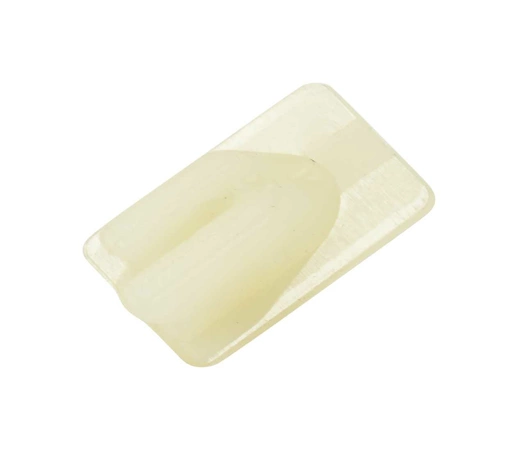
WP357213 Whirlpool Hinge Stopper
Whirlpool WP357213 NUT, CONTROL. We're your #1 source for genuine OEM appliance parts. Contact us for further questions as well as any other appliance parts needs!
Weight : 0.01 lbs
Package Dimension : 0.75 x 0.38 x 0.38
Compatible Brands


About this product
Whirlpool WP357213 NUT, CONTROL. We're your #1 source for genuine OEM appliance parts. Contact us for further questions as well as any other appliance parts needs!
Weight : 0.01 lbs
Package Dimension : 0.75 x 0.38 x 0.38
The following parts are replaced by this product
- 357213
1. Begin by turning off the power supply to the Whirlpool WP357213 NUT. Be sure that all electricity is off before proceeding.
2. Place a cloth beneath the Nut to catch any pieces that may fall as you remove it.
3. Use a wrench to loosen the Nut from its position. You will be unscrewing it in a counterclockwise direction.
4. Once the Nut has been completely removed, use a clean cloth and some mild soap to wipe the area thoroughly.
5. Get your new Whirlpool WP357213 NUT and place it into position. Secure it in place using a wrench and screwing it in a clockwise direction.
6. Make sure that the new Nut fits securely in place.
7 Turn on the power supply to the Whirlpool WP357213 NUT to ensure that it works properly.
8. Clean up any debris or leftover pieces of the old Nut.
9. Finally, test the Whirlpool WP357213 NUT to make sure that it is functioning properly.
Please keep in mind, these instructions are for general guidance and should always be used in conjunction with the manufacturer's manual, if available.
Please Verify Your Purchase to Submit a Review
Please note: We use this information only to confirm your purchase, it won’t be published.


