Online Sale!
100% Guaranteed Genuine Parts
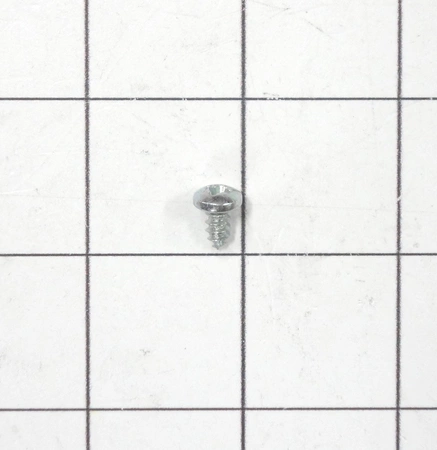
WP355214 Whirlpool Screw
WP355214 Whirlpool Screw
Weight : 0.01 lbs
Package Dimension : 1.30 x 0.75 x 1.22
Compatible Brands


About this product
WP355214 Whirlpool Screw
Weight : 0.01 lbs
Package Dimension : 1.30 x 0.75 x 1.22
The following parts are replaced by this product
- 355214
Replacing the Whirlpool WP355214 Screw: A DIY Guide
Are you having trouble with a Whirlpool WP355214 screw? Don’t worry, replacing it is a relatively simple do-it-yourself (DIY) task. Follow the instructions below and you’ll have your appliance fixed in no time.
Step 1: Gather the Materials
First, gather the materials you’ll need to complete the repair. These include:
• Whirlpool WP355214 screw
• Phillips head screwdriver
• Flathead screwdriver
• Pliers
Step 2: Unscrew the Old Screw
Next, use the Phillips head screwdriver to remove the old screw from the appliance. Once you’ve removed the screw, use the flathead screwdriver to pry out the washer that was beneath the screw.
Step 3: Install the New Screw
Now it’s time to install the new Whirlpool WP355214 screw. Start by inserting the screw into the hole where the old one was. Then, use the pliers to secure the washer to the new screw.
Step 4: Check for Secure Installation
Finally, test the installation for secureness by gently tugging on the screw. If it doesn’t budge, you’re all set!
That’s it—now you know how to replace a Whirlpool WP355214 screw. With the help of this DIY guide, you can easily repair any broken screw on your own.
Please keep in mind, these instructions are for general guidance and should always be used in conjunction with the manufacturer's manual, if available.


