100% Guaranteed Genuine Parts
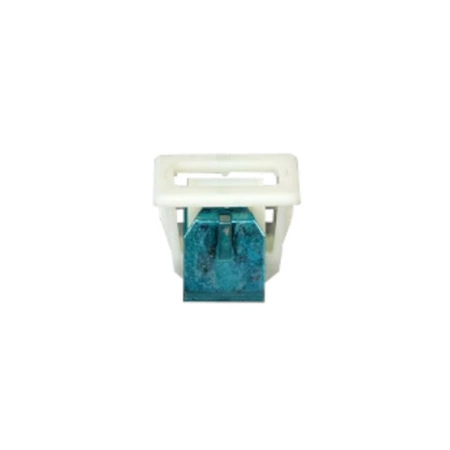
D510177 Speed Queen Dryer Door Catch Assembly
Maintain the performance of your dryer with the D510177 Door Catch Assembly, specifically designed for optimal functionality in Speed Queen appliances. This essential component, made with precision and durability in mind, ensures a secure closure of your dryer door, preventing any unwanted disruptions during operation.
Compatible with not only Speed Queen but also Amana and Alliance brands, this latch, catch, and lock assembly is a versatile addition to your dryer parts collection. Whether you’re performing a routine maintenance check or replacing a worn-out part, the D510177 is your reliable solution for maintaining efficient drying cycles. Ensure your appliance runs smoothly by investing in this necessary part, tailored to meet the high standards of reliability that Speed Queen is known for.
Weight : 0.00 lbs
Package Dimension : 1.10 x 0.47 x 0.35
Compatible Brands


About this product
Maintain the performance of your dryer with the D510177 Door Catch Assembly, specifically designed for optimal functionality in Speed Queen appliances. This essential component, made with precision and durability in mind, ensures a secure closure of your dryer door, preventing any unwanted disruptions during operation.
Compatible with not only Speed Queen but also Amana and Alliance brands, this latch, catch, and lock assembly is a versatile addition to your dryer parts collection. Whether you’re performing a routine maintenance check or replacing a worn-out part, the D510177 is your reliable solution for maintaining efficient drying cycles. Ensure your appliance runs smoothly by investing in this necessary part, tailored to meet the high standards of reliability that Speed Queen is known for.
Weight : 0.00 lbs
Package Dimension : 1.10 x 0.47 x 0.35
The following parts are replaced by this product
- 54660
- 510177
- 514113
DIY Guide - How to Replace the D510177 Speed Queen Dryer Door Catch Assembly
Replacing the door catch assembly on a Speed Queen dryer is not a difficult task, and the process is relatively simple. The following step-by-step instructions are designed to help you do it yourself.
Step 1: Unplug the Dryer
Unplug the dryer from the wall outlet before beginning any work to ensure safety.
Step 2: Access the Old Catch Assembly
Remove the screws at the top and bottom of the door opening to remove the interior door panel. Lift the door out of the way and disconnect the door switch wires. Now you should be able to access the front side of the catch assembly.
Step 3: Remove the Old Catch Assembly
Remove the mounting screws that secure the catch assembly to the dryer door frame. Slide the catch toward the inside of the dryer to remove it from the door frame.
Step 4: Install the New Catch Assembly
Slide the new catch assembly into position in the dryer door frame, making sure it is flush against the door frame. Secure the catch assembly with the mounting screws.
Step 5: Reconnect the Wires
Connect the wires from the door switch to the new catch assembly.
Step 6: Reinstall the Door
Secure the door panel back onto the dryer door frame with the screws that were removed in the first step.
Step 7: Plug in the Dryer
Once everything is connected and properly secured, plug the dryer back into the wall outlet.
Congratulations! You have successfully replaced the D510177 Speed Queen dryer door catch assembly.
Please keep in mind, these instructions are for general guidance and should always be used in conjunction with the manufacturer's manual, if available.


