Online Sale!
100% Guaranteed Genuine Parts
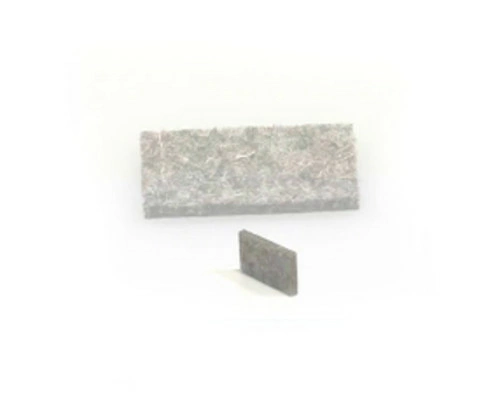
WP500121 Whirlpool Drum Glide Felt Pad
WP500121 Whirlpool Drum Glide Felt Pad
Weight : 0.00 lbs
Package Dimension : 1.06 x 0.71 x 0.35
Compatible Brands


About this product
WP500121 Whirlpool Drum Glide Felt Pad
Weight : 0.00 lbs
Package Dimension : 1.06 x 0.71 x 0.35
The following parts are replaced by this product
- 500121
Replacing the WP500121 Whirlpool Drum Glide Felt Pad
Replacing the felt pad on your Whirlpool dryer is an easy do-it-yourself (DIY) project that can be completed in a few simple steps. This guide will walk you through the process of replacing the WP500121 Whirlpool Drum Glide Felt Pad to help ensure your dryer operates efficiently and safely.
Tools Needed:
-Screwdriver
-Replacement WP500121 Drum Glide Felt Pad
Step 1: Unplug your dryer from the wall. To avoid possible electric shock, it is important to disconnect power to the dryer before beginning the repair.
Step 2: Remove the screws from the back panel of the dryer. Using a screwdriver, remove the screws that hold the back panel in place. Place the screws in a safe place so they are not lost.
Step 3: Locate the old felt pad. The felt pad is usually found behind the drum on the inside of the dryer. It is a small square piece of material that sits between the drum and the back wall of the dryer.
Step 4: Remove the old felt pad. Carefully pull the felt pad away from the edges of the dryer and remove it from the back wall.
Step 5: Install the new felt pad. Place the new felt pad in the same location as the old one and make sure it is properly secured. Use a screwdriver or other tool to press it firmly in place around the edges.
Step 6: Replace the back panel. Once the new felt pad is installed, replace the screws that were removed in Step 2 and reattach the back panel.
Step 7: Reconnect the power to the dryer. After the back panel has been securely fastened, plug the dryer back into the wall outlet.
Once the felt pad is replaced on your Whirlpool dryer, your appliance should be operating efficiently and safely. If the instructions above have not resolved the issue, contact a professional appliance repair service for further assistance.
Please keep in mind, these instructions are for general guidance and should always be used in conjunction with the manufacturer's manual, if available.


