Online Sale!
100% Guaranteed Genuine Parts
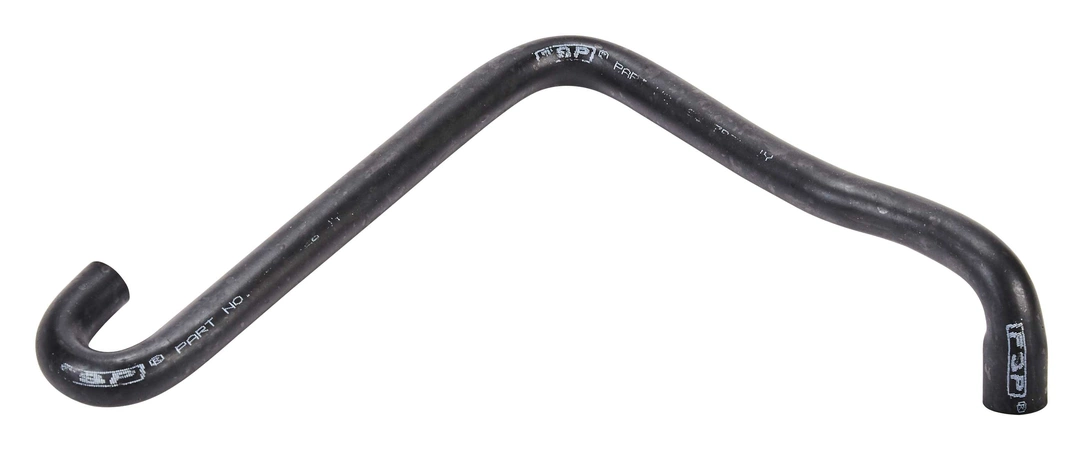
WP8317926 Whirlpool Inlet Hose
WP8317926 Whirlpool Inlet Hose
Weight : 1.30 lbs
Package Dimension : 8.94 x 8.03 x 2.52
Compatible Brands


About this product
WP8317926 Whirlpool Inlet Hose
Weight : 1.30 lbs
Package Dimension : 8.94 x 8.03 x 2.52
The following parts are replaced by this product
- 8317926
DIY Guide to Replacing a WP8317926 Whirlpool Washer Break Hose
1. Unplug the power cord from the wall outlet and shut off both the hot and cold water supply valves.
2. Detach the inlet hoses from the back of the washer. Place a bucket beneath the hoses to capture any water that may drain out during this step.
3. Unscrew the clamp at the connection of the break hose and the water inlet valve. Use a pair of pliers if necessary.
4. Remove the old break hose carefully.
5. Inspect the new break hose and make sure it is compatible with your model of washing machine.
6. Fit the new hose onto the valve and secure it in place using the clamp.
7. Drain any remaining water from the bucket and replace the inlet hoses.
8. Turn on the water supply valves to ensure that no leaks occur.
9. Plug the power cord back in and provide it with power.
10. Test the machine’s functionality by running a cycle. Check for any leakage during or after the cycle to ensure that the replacement part is functioning correctly.
Please keep in mind, these instructions are for general guidance and should always be used in conjunction with the manufacturer's manual, if available.


