Online Sale!
100% Guaranteed Genuine Parts
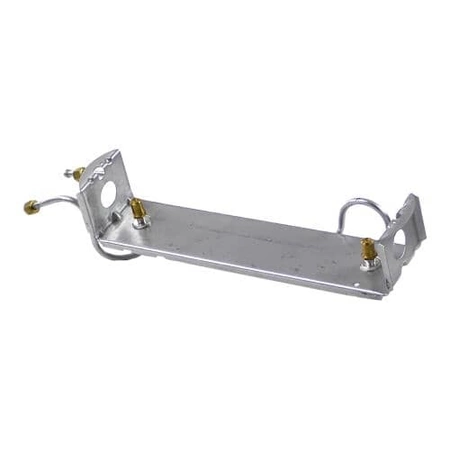
WP5187M026-60 Whirlpool Surface Burner Orifice Holder
Whirlpool WP5187M026-60 ORIFICE i. We're your #1 source for genuine OEM appliance parts. Contact us for further questions as well as any other appliance parts needs!
Weight : 3.42 lbs
Package Dimension : 17.30 x 6.50 x 3.60
Compatible Brands


About this product
Whirlpool WP5187M026-60 ORIFICE i. We're your #1 source for genuine OEM appliance parts. Contact us for further questions as well as any other appliance parts needs!
Weight : 3.42 lbs
Package Dimension : 17.30 x 6.50 x 3.60
The following parts are replaced by this product
- 5187D026-60
- 5187D026-60
- 5187M026-60
Step 1: Disconnect the power to your Whirlpool appliance by unplugging it from the wall.
Step 2: Locate the gas orifice at the back of the appliance. On the Whirlpool WP5187M026-60, it will be near the lower portion of the appliance.
Step 3: Remove the orifice with a wrench. Be sure not to strip the orifice when loosening it.
Step 4: Select a new orifice that is compatible with the Whirlpool WP5187M026-60. You can find orifices available in a variety of sizes to fit the appropriate outlet.
Step 5: Insert the new orifice and tighten with a wrench. Make sure the orifice is firmly secured, but do not over-tighten as this can damage the appliance.
Step 6: Reconnect the power to the appliance. Test the appliance to ensure that the new orifice is working properly.
Please keep in mind, these instructions are for general guidance and should always be used in conjunction with the manufacturer's manual, if available.


