100% Guaranteed Genuine Parts
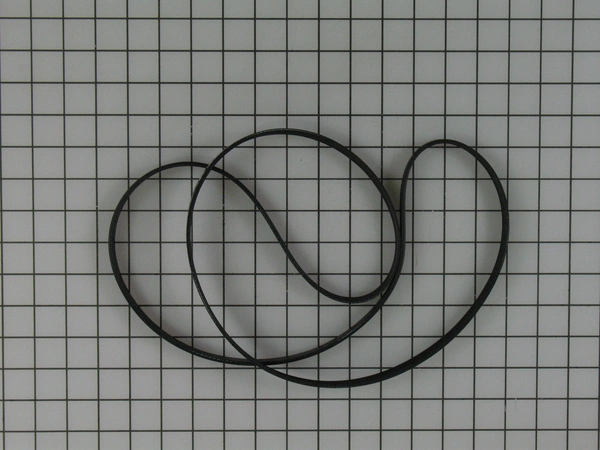
800319P Speed Queen Washer Dryer Micro V Drive Belt
800319P Speed Queen Washer Dryer Micro V Drive Belt
Compatible Brands


About this product
800319P Speed Queen Washer Dryer Micro V Drive Belt
The following parts are replaced by this product
- 800319
Step 1: Place the washer/dryer on a flat, level surface. Make sure the area has sufficient space to work and access the back panel of the machine.
Step 2: Unplug the washer/dryer from the outlet.
Step 3: Locate the two external screws at the rear of the washer/dryer that secure the back panel. Remove the two screws with a Phillips head screwdriver.
Step 4: Lift the rear panel off the washer/dryer and place aside.
Step 5: Look for the belt located near the motor.
Step 6: According to the Speed Queen Washer/Dryer user manual, the 800319P Micro V Drive belt is used in specific models. Check to make sure that you have the correct belt before starting this process.
Step 7: Notice the two tension pulleys above the belt that keep the belt tight against the drive shaft of the motor. Loosen the tension pulley screws slightly and pull the belt away from the motor.
Step 8: Carefully slide the replacement belt around the two tension pulleys and then onto the drive shaft of the motor.
Step 9: Pull gently to make sure the belt is seated correctly and there are no kinks or twists in the belt.
Step 10: Tighten the tension pulley screws to secure the belt in place.
Step 11: Re-attach the back panel and secure with the two phillips head screws.
Step 12: Plug the washer/dryer into the outlet and test the machine to make sure it’s running properly.
Please keep in mind, these instructions are for general guidance and should always be used in conjunction with the manufacturer's manual, if available.


