Online Sale!
100% Guaranteed Genuine Parts
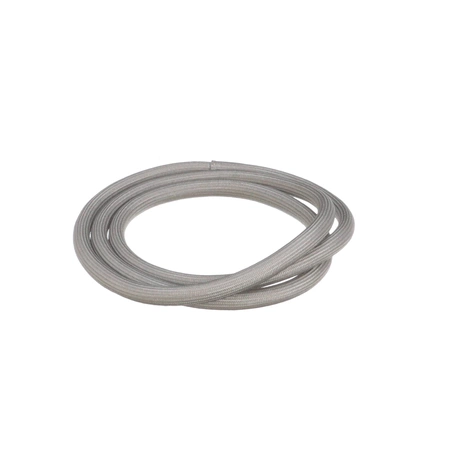
W10861521 Whirlpool Dryer Door Seal
The Dryer Door Seal is a rubber gasket that prevents heat loss in the appliance during the drying cycle. If your dryer’s current seal is visibly damaged or the appliance is unable to maintain a constant temperature while operating, replacing this part may alleviate the issue. Replacing the seal will require basic hand tools, minor disassembly of the dryer and novice repair experience. You must unplug the dryer or shut off the house circuit breaker for the appliance before installing this part. Required Accessory: You will need high-temperature Silicone Sealant (item WP279368) to complete this repair. Helpful Tips: This part may arrive as one piece; hold at one end and pull apart to separate before installation. Removing the dryer door before you begin will aid with proper installation.
Part Specification
• This product is a Factory Certified Part. These three words represent quality parts and accessories designed specifically for your appliance. Time tested engineering that meets our strict quality specifications
• This product is a replacement part
• Package contains (1) Dryer Door Seal
• Tools Needed: Multi screwdriver
Weight : 0.50 lbs
Package Dimension : 9.29 x 3.43 x 2.17
Compatible Brands


About this product
The Dryer Door Seal is a rubber gasket that prevents heat loss in the appliance during the drying cycle. If your dryer’s current seal is visibly damaged or the appliance is unable to maintain a constant temperature while operating, replacing this part may alleviate the issue. Replacing the seal will require basic hand tools, minor disassembly of the dryer and novice repair experience. You must unplug the dryer or shut off the house circuit breaker for the appliance before installing this part. Required Accessory: You will need high-temperature Silicone Sealant (item WP279368) to complete this repair. Helpful Tips: This part may arrive as one piece; hold at one end and pull apart to separate before installation. Removing the dryer door before you begin will aid with proper installation.
Part Specification
• This product is a Factory Certified Part. These three words represent quality parts and accessories designed specifically for your appliance. Time tested engineering that meets our strict quality specifications
• This product is a replacement part
• Package contains (1) Dryer Door Seal
• Tools Needed: Multi screwdriver
Part Specification
• This product is a Factory Certified Part. These three words represent quality parts and accessories designed specifically for your appliance. Time tested engineering that meets our strict quality specifications
• This product is a replacement part
• Package contains (1) Dryer Door Seal
• Tools Needed: Multi screwdriver
Weight : 0.50 lbs
Package Dimension : 9.29 x 3.43 x 2.17
The following parts are replaced by this product
- 3405246
- 3405245
- W10389572
- W10730752
- WP3405245
- WP3405246
Step 1: Unplug Your Appliance
Before you start any type of repair, the most important step is to unplug your appliance. This will disconnect all power sources and reduce the risk of electrical shock.
Step 2: Locate the Door Seal
Locate the Whirlpool W10861521 SEAL-DOOR on the inside of the door.
Step 3: Remove the Old Seal
Using a flathead screwdriver, carefully loosen the screws that secure the old seal to the door. Then, pull the old seal gently away from the door and set aside for disposal.
Step 4: Install the New Seal
Position the new seal onto the door, ensuring that it is properly aligned with the surrounding edges. Using a flathead screwdriver, tighten the screws to secure the seal.
Step 5: Test the New Seal
Close the door to test if the new seal is working properly. Check to make sure there is no air leaking out when the door is shut.
Step 6: Plug in the Appliance
Once the new seal is installed and tested, plug the appliance back in and you're all set.
Please keep in mind, these instructions are for general guidance and should always be used in conjunction with the manufacturer's manual, if available.


