Online Sale!
100% Guaranteed Genuine Parts
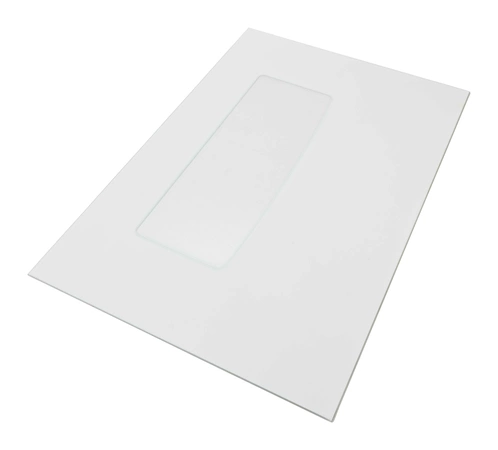
WP9762476 Whirlpool Door Glass
This Oven Door Outer Panel Assembly, White includes both the outer frame for your oven door in white and the glass of your oven, which is black, and covers the outermost part of the oven door. Installing this trim will require basic hand tools and some disassembly of the oven. Previous repair experience will be helpful but is not necessary. You must unplug the oven or shut off the house circuit breaker for the appliance before installing this part.
Part Specification
• This product is a Factory Certified Part. These three words represent quality parts and accessories designed specifically for your appliance. Time tested engineering that meets our strict quality specifications
• This product is a replacement part
• Package contains (1) Oven Door Outer Panel Assembly, White
• Tools Needed: Phillips-Head screwdriver
Weight : 6.08 lbs
Package Dimension : 35.25 x 27.25 x 0.88
Compatible Brands


About this product
This Oven Door Outer Panel Assembly, White includes both the outer frame for your oven door in white and the glass of your oven, which is black, and covers the outermost part of the oven door. Installing this trim will require basic hand tools and some disassembly of the oven. Previous repair experience will be helpful but is not necessary. You must unplug the oven or shut off the house circuit breaker for the appliance before installing this part.
Part Specification
• This product is a Factory Certified Part. These three words represent quality parts and accessories designed specifically for your appliance. Time tested engineering that meets our strict quality specifications
• This product is a replacement part
• Package contains (1) Oven Door Outer Panel Assembly, White
• Tools Needed: Phillips-Head screwdriver
Part Specification
• This product is a Factory Certified Part. These three words represent quality parts and accessories designed specifically for your appliance. Time tested engineering that meets our strict quality specifications
• This product is a replacement part
• Package contains (1) Oven Door Outer Panel Assembly, White
• Tools Needed: Phillips-Head screwdriver
Weight : 6.08 lbs
Package Dimension : 35.25 x 27.25 x 0.88
The following parts are replaced by this product
- 3196809
- 8053481
- 9762476
Replacing the Whirlpool WP9762476 GLASS-DOOR OVEN HEAT SHIELD
Tools needed: Phillips-head screwdriver, flat-head screwdriver
Step 1: Unplug the oven from the power supply.
Step 2: Open the oven door and locate the heat shield assembly. On most models the heat shield will be underneath the oven cavity near the base of the door.
Step 3: Using a Phillips-head screwdriver, remove the two screws securing the heat shield to the bottom of the oven cavity.
Step 4: Pull the heat shield away from the oven wall, taking care not to damage any wiring or components attached to the heat shield.
Step 5: Place the new heat shield into position and gently press it against the oven wall.
Step 6: Secure the heat shield to the oven wall using the two screws removed in Step 3.
Step 7: Plug the oven back into the power supply and test the operation of the new heat shield.
Please keep in mind, these instructions are for general guidance and should always be used in conjunction with the manufacturer's manual, if available.
Please Verify Your Purchase to Submit a Review
Please note: We use this information only to confirm your purchase, it won’t be published.


