Online Sale!
100% Guaranteed Genuine Parts
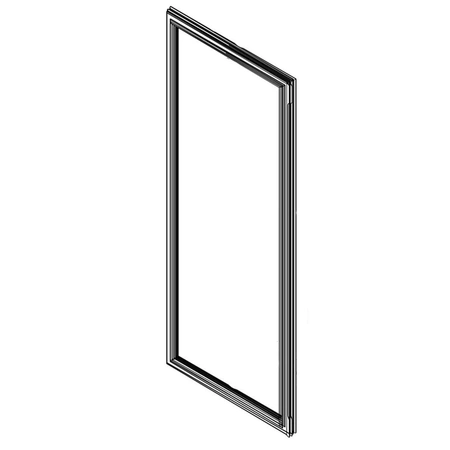
W11544658 Whirlpool Gasket Assembly
W11544658 is an original equipment manufactured (OEM) part. Ensure optimal performance and energy efficiency in your refrigerator with this high-quality gasket assembly designed for seamless fit and function. Manufactured by Whirlpool, this part enhances the seal of your appliance, preventing air leaks and preserving the temperature inside. Compatible with a wide range of brands, including Admiral, Amana, Jenn-Air, Kenmore, Kitchenaid, Magic Chef, Maytag, Norge, and Roper, this versatile gasket is ideal for various refrigerator models. Durably constructed, it promises long-lasting performance, making it an essential replacement for any kitchen. Maintain your refrigerator parts today and experience improved functionality and energy savings.
Compatible Brands


About this product
W11544658 is an original equipment manufactured (OEM) part. Ensure optimal performance and energy efficiency in your refrigerator with this high-quality gasket assembly designed for seamless fit and function. Manufactured by Whirlpool, this part enhances the seal of your appliance, preventing air leaks and preserving the temperature inside. Compatible with a wide range of brands, including Admiral, Amana, Jenn-Air, Kenmore, Kitchenaid, Magic Chef, Maytag, Norge, and Roper, this versatile gasket is ideal for various refrigerator models. Durably constructed, it promises long-lasting performance, making it an essential replacement for any kitchen. Maintain your refrigerator parts today and experience improved functionality and energy savings.
The following parts are replaced by this product
- W10622442
- W10873946
DIY Guide to Replacing the Whirlpool W11544658 GASKET-FIP
If you own a Whirlpool appliance, chances are you’ll experience a need to replace the Whirlpool W11544658 GASKET-FIP at some point. This guide will provide step-by-step instructions on how to do just that.
Step 1: Unplug the Appliance
The first step in replacing your Whirlpool W11544658 GASKET-FIP is to unplug the appliance. You should also turn off the gas supply.
Step 2: Remove the Old Gasket-FIP
Using a flathead screwdriver or other tool, gently remove the old gasket from the appliance. Be careful to not damage any surrounding parts as you pry it off.
Step 3: Install the New Gasket-FIP
Next, take your new gasket and carefully press it into place. Make sure the gasket is aligned correctly so that it seals properly.
Step 4: Secure the New Gasket-FIP
Once the new gasket is in place, use a Phillips head screwdriver to secure it in place. If necessary, use a hammer to make sure the screws are firmly in place.
Step 5: Test the Gasket-FIP
After you have installed the new Gasket-FIP, turn the power back on and test the seal for leaks. If there are any, you may need to adjust the gasket or reapply the screws.
And that’s it! After following these steps, you can be sure that your Whirlpool appliance is sealed properly with the new Gasket-FIP. As always, if you have any questions or concerns, be sure to contact an authorized Whirlpool repair specialist.
Please keep in mind, these instructions are for general guidance and should always be used in conjunction with the manufacturer's manual, if available.


