Online Sale!
100% Guaranteed Genuine Parts
W11449276 Whirlpool Handle Support
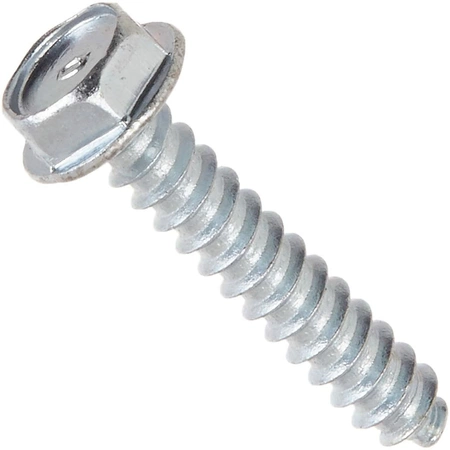
Whirlpool W11449276 SCREW We're your #1 source for genuine OEM appliance parts. Contact us for further questions as well as any other appliance parts needs!
Weight : 0.02 lbs
Package Dimension : 1.65 x 1.42 x 1.26
Compatible Brands


About this product
Whirlpool W11449276 SCREW We're your #1 source for genuine OEM appliance parts. Contact us for further questions as well as any other appliance parts needs!
Weight : 0.02 lbs
Package Dimension : 1.65 x 1.42 x 1.26
The following parts are replaced by this product
- W11328753
Replacing the Whirlpool W11449276 SCREW: A DIY Guide
Replacing the Whirlpool W11449276 Screw is a project that many homeowners can take on with the right instructions and tools. This guide will provide you with detailed steps to complete the repair quickly and safely. Let’s dive in!
Tools Needed
-Screwdriver
-Replacement screw
-Tape measure
Steps
1. Prepare the area: Before starting, make sure the space around the screw is clear, and that you have all the necessary tools handy.
2. Measure the existing screw: Use a tape measure to check the length and width of the existing screw. Write down the measurements so you can find a matching replacement.
3. Remove the existing screw: Use the appropriate screwdriver to loosen and remove the old screw. Take care not to strip or damage the threads.
4. Obtain the replacement screw: Visiting a local hardware store or shopping online can help you find the pinpoint size and thread count of the screw.
5. Install the new screw: With the new screw in hand, line up the threads and use the screwdriver to carefully drive the new screw into place.
Congratulations! You’ve successfully replaced the Whirlpool W11449276 Screw.
For more information on appliance repairs, be sure to contact a local technician. They can provide helpful advice and troubleshooting tips to ensure your repairs are done correctly.
Please keep in mind, these instructions are for general guidance and should always be used in conjunction with the manufacturer's manual, if available.


