Online Sale!
100% Guaranteed Genuine Parts
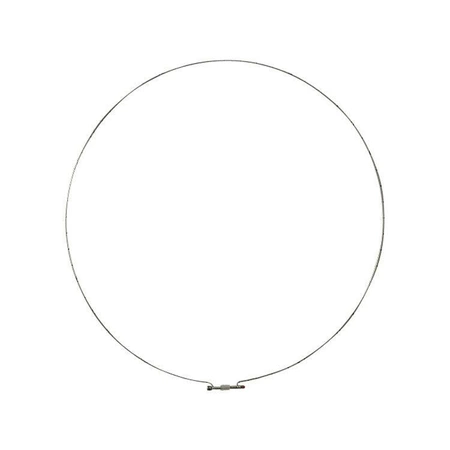
W11218344 Whirlpool Boot Seal Retaining Ring
Whirlpool W11218344 BOOT SEAL RETAINING RING We're your #1 source for genuine OEM appliance parts. Contact us for further questions as well as any other appliance parts needs!
Weight : 2.08 lbs
Package Dimension : 27.50 x 21.00 x 0.50
Compatible Brands


About this product
Whirlpool W11218344 BOOT SEAL RETAINING RING We're your #1 source for genuine OEM appliance parts. Contact us for further questions as well as any other appliance parts needs!
Weight : 2.08 lbs
Package Dimension : 27.50 x 21.00 x 0.50
The following parts are replaced by this product
- W10237502
- WPW10237502
Replacing the Clamp on a Whirlpool W11218344 Dryer
1. Power off the dryer. Unplug the power cord from the wall and shut off the gas supply if the dryer is gas-powered.
2. Open the dryer door to gain access to the lint trap. Slide the lint trap out and set it aside.
3. Remove the two screws at the top of the cabinet and remove the cabinet from the dryer. This will give you access to the drum and the clamp.
4. Disconnect the wires from the terminal block and remove any other parts that are blocking access to the clamp assembly.
5. With the parts removed, locate the clamp and unscrew the two bolts that secure it to the dryer.
6. Replace the old clamp with a new one and re-secure the two bolts.
7. Reattach the terminal block wires and any other parts that were removed.
8. Place the cabinet back in place, secure it with the screws, and slide the lint trap back into the dryer.
9. Plug in the power cord or turn on the gas supply and power the dryer back on.
Now you have successfully completed your DIY replacement of the Whirlpool W11218344 Clamp!
Please keep in mind, these instructions are for general guidance and should always be used in conjunction with the manufacturer's manual, if available.


