Online Sale!
100% Guaranteed Genuine Parts
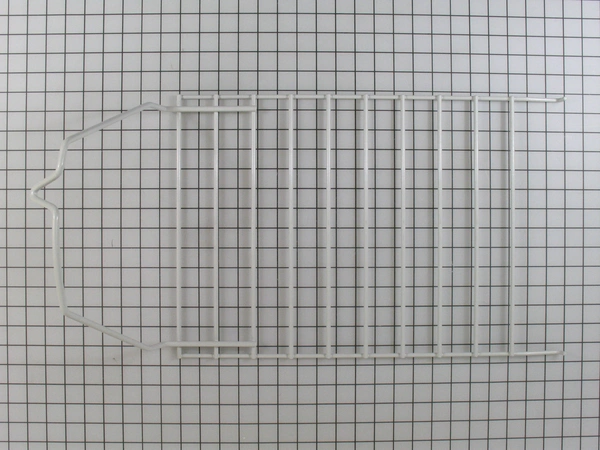
W10322470A Whirlpool Dryer Drying Rack
This Dryer Drying Rack attaches to the inside of the dryer drum and remains stationary as the dryer turns so you can dry shoes, sweaters and other items that shouldn't be tumbled. This accessory can be used with many major dryer brands and models; check to see if your model number is compatible. Installation of this accessory will require no tools, disassembly or repair experience. Special shipping and handling is required for this item.
Part Specification
• This product is a Factory Certified Accessory. These three words represent quality parts and accessories designed specifically for your appliance. Time tested engineering that meets our strict quality specifications
• Package contains (1) Dryer Drying Rack
• Tools Needed: Multi screwdriver
Weight : 23.12 lbs
Package Dimension : 27.50 x 13.75 x 8.50
Compatible Brands


About this product
This Dryer Drying Rack attaches to the inside of the dryer drum and remains stationary as the dryer turns so you can dry shoes, sweaters and other items that shouldn't be tumbled. This accessory can be used with many major dryer brands and models; check to see if your model number is compatible. Installation of this accessory will require no tools, disassembly or repair experience. Special shipping and handling is required for this item.
Part Specification
• This product is a Factory Certified Accessory. These three words represent quality parts and accessories designed specifically for your appliance. Time tested engineering that meets our strict quality specifications
• Package contains (1) Dryer Drying Rack
• Tools Needed: Multi screwdriver
Part Specification
• This product is a Factory Certified Accessory. These three words represent quality parts and accessories designed specifically for your appliance. Time tested engineering that meets our strict quality specifications
• Package contains (1) Dryer Drying Rack
• Tools Needed: Multi screwdriver
Weight : 23.12 lbs
Package Dimension : 27.50 x 13.75 x 8.50
The following parts are replaced by this product
- W10886894
Replacing the Whirlpool W10322470A RACK-DRY
Materials Needed:
- Replacement Whirlpool W10322470A RACK-DRY
- Needle nose pliers
- Phillips head screwdriver
- Ruler or measuring tape
Steps:
1. Unplug your dryer from the wall outlet or turn off its power supply from the main panel.
2. Carefully take the dryer apart to access the rack-dry.
3. Use the needle nose pliers to remove the old rack-dry from its slots on the wall of the dryer.
4. Use the measuring tape or ruler to ensure that the new rack-dry is of the right size and dimensions.
5. Secure the new rack-dry into place using the Phillips head screwdriver.
6. Double-check all connections and screws, to make sure they are properly secured.
7. Reassemble the dryer, making sure all parts are firmly in place.
8. Plug the dryer back in and test it for proper functioning.
Please keep in mind, these instructions are for general guidance and should always be used in conjunction with the manufacturer's manual, if available.
Please Verify Your Purchase to Submit a Review
Please note: We use this information only to confirm your purchase, it won’t be published.


