100% Guaranteed Genuine Parts
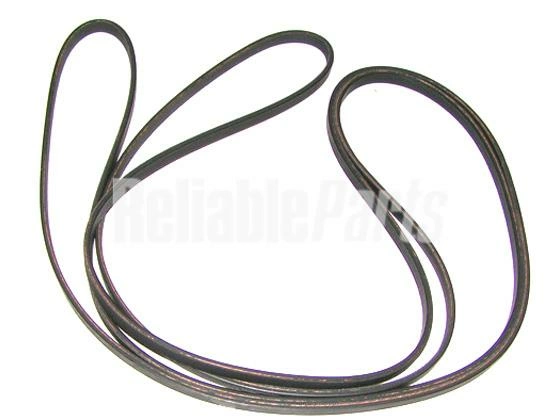
56095P Speed Queen Dryer Drum Drive Belt
56095P Speed Queen Dryer Drum Drive Belt
Compatible Brands


About this product
56095P Speed Queen Dryer Drum Drive Belt
The following parts are replaced by this product
- 56095
- LB253
- R6065-24
- 56095
- ER56095
Step 1: Unplug the Dryer
Before starting any repair, always make sure to unplug the dryer from the electrical outlet. It is also a good practice to turn off its gas supply, if applicable.
Step 2: Remove Top Panel and Front Panel
Locate the front panel and top panel of the dryer. Depending on your model, there may be screws or snaps that need to be removed in order to remove these panels. Remove them carefully and set aside.
Step 3: Disconnect Dryer Drum From Motor Pulley
Locate the drive belt and ensure it is not broken or frayed. If it is, you will need to replace it. To do this, locate the motor pulley and disconnect the belt from it.
Step 4: Remove Old Drive Belt
Carefully pull the old drive belt off of the dryer drum and discard it.
Step 5: Feed New Drive Belt Through Drum and Motor Pulley
Feed the new drive belt through the dryer drum and motor pulley, making sure the belt is properly aligned.
Step 6: Replace Front Panel and Top Panel
Replace the front and top panels, ensuring that all screws are properly tightened and that all snaps are in place.
Step 7: Plug In Dryer and Test Drive Belt
Finally, plug the dryer back into the electrical outlet and test the drive belt to make sure it is working properly. If all is working correctly, you’re done!
Please keep in mind, these instructions are for general guidance and should always be used in conjunction with the manufacturer's manual, if available.


