Online Sale!
100% Guaranteed Genuine Parts
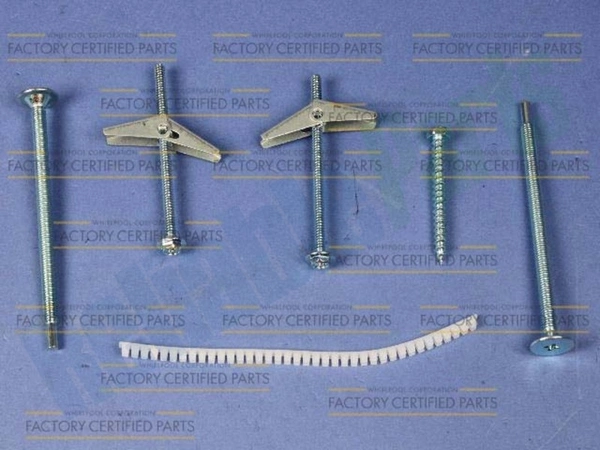
WPDE97-00672A Whirlpool Bolt
WPDE97-00672A Whirlpool Bolt
Weight : 0.028800 lbs
Dimension : 3.870000 x 0.620000 x 0.620000
Compatible Brands

About this product
WPDE97-00672A Whirlpool Bolt
Weight : 0.028800 lbs
Dimension : 3.870000 x 0.620000 x 0.620000
The following parts are replaced by this product
- DE97-00672A
No more associated models for this part.
DIY Instructions for Replacing a Whirlpool WPDE97-00672A BOLT-SCREW
Replacing the Whirlpool WPDE97-00672A BOLT-SCREW can be done in a few simple steps. This guide will help you do it quickly, safely, and without damaging any of the other components in the appliance. Here are step-by-step instructions for successfully performing a DIY replacement of the Whirlpool WPDE97-00672A BOLT-SCREW.
Step 1: Gather the appropriate tools. To replace the Whirlpool WPDE97-00672A BOLT-SCREW, you’ll need an adjustable wrench, a Phillips screwdriver or another machine that fits the head of the screw, and the new bolt-screw.
Step 2: Carefully remove the old BOLT-SCREW. Begin by loosening the nut that holds the old BOLT-SCREW in place. Then, use the Phillips screwdriver or equivalent tool to unscrew the old BOLT-SCREW from its position.
Step 3: Insert the new bolt-screw. Take the new bolt-screw and place it into the hole in which the old one was attached. Use the adjustable wrench, if necessary, to ensure that the new bolt-screw is securely fastened in place.
Step 4: Finish up. Once the replacement part is securely in place, you’re ready to reinstall all the parts you removed during the process, and put your appliance back in working order.
With these easy-to-follow instructions, you can successfully complete a DIY replacement of the Whirlpool WPDE97-00672A BOLT-SCREW. Be sure to follow each step carefully, and never attempt a repair beyond your experience level.
Please keep in mind, these instructions are for general guidance and should always be used in conjunction with the manufacturer's manual, if available.
Write Your Own Review


