Online Sale!
100% Guaranteed Genuine Parts
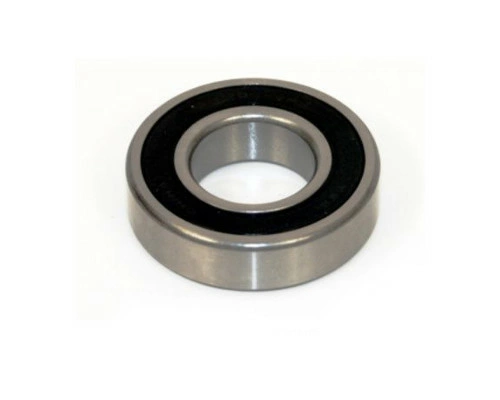
WP22003441 Whirlpool Rear Bearing
Rear bearing works with some Whirlpool, Jenn-Air, Kenmore, KitchenAid, Maytag, Amana, Magic Chef, Admiral, Norge, and Roper models of washing machines.
Weight : 0.07 lbs
Package Dimension : 3.39 x 3.03 x 0.91
Compatible Brands


About this product
Rear bearing works with some Whirlpool, Jenn-Air, Kenmore, KitchenAid, Maytag, Amana, Magic Chef, Admiral, Norge, and Roper models of washing machines.
Weight : 0.07 lbs
Package Dimension : 3.39 x 3.03 x 0.91
The following parts are replaced by this product
- 200720
- LP711
- LP711
- 22003441
DIY: How to Replace the WP22003441 Whirlpool Washer Rear Bearing
Replacing the WP22003441 Whirlpool Washer Rear Bearing doesn't have to be a difficult job. Follow this DIY guide and you'll have it replaced in no time.
1. Unplug your washer from the power source. Remove the screws attaching the back panel to the washer.
2. Next, turn the washer to its side and prop it up so that you can access the inside of the machine. Unscrew the bolts holding the rear bearing in place.
3. Once the rear bearing is exposed, use pliers to remove it. Make sure to keep track of all the components so that you can easily reassemble them when replacing the bearing.
4. Get the new bearing and gently slide it into the corresponding area. Secure it with the bolts.
5. After you have successfully placed the new bearing, put the back panel back onto the washer and screw all the parts together.
6. Plug the washer back into the power source and switch it on to test the new bearing.
And that's it! You have now successfully replaced your Whirlpool Washer's rear bearing.
Please keep in mind, these instructions are for general guidance and should always be used in conjunction with the manufacturer's manual, if available.


