Online Sale!
100% Guaranteed Genuine Parts
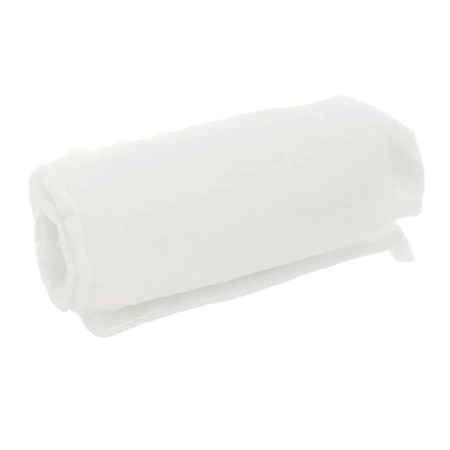
W11579564 Whirlpool Sound Shield Assembly
Whirlpool W11579564 SHIELD We're your #1 source for genuine OEM appliance parts. Contact us for further questions as well as any other appliance parts needs!
Compatible Brands


About this product
Whirlpool W11579564 SHIELD We're your #1 source for genuine OEM appliance parts. Contact us for further questions as well as any other appliance parts needs!
The following parts are replaced by this product
- W11158115
Step 1: Unplug the dryer from the wall and shut off the gas supply to the unit.
Step 2: Remove the front panel screws located on the top, bottom and both sides of the dryer using a screwdriver.
Step 3: Pull the front panel away from the body of the dryer and place it aside.
Step 4: Locate the Whirlpool W11579564 SHIELD-DRYER on the inside of the dryer.
Step 5: Disconnect the wiring harness from the Whirlpool W11579564 SHIELD-DRYER by pressing the clips on either side of the connector.
Step 6: Remove the screws holding the Whirlpool W11579564 SHIELD-DRYER in place and lift it out of the dryer.
Step 7: Place the new Whirlpool W11579564 SHIELD-DRYER into the dryer and secure with the screws removed in step 6.
Step 8: Reconnect the wiring harness to the new Whirlpool W11579564 SHIELD-DRYER.
Step 9: Replace the front panel onto the body of the dryer and secure with the screws removed in step 2.
Step 10: Plug the dryer back into the wall and turn on the gas supply to the unit.
Please keep in mind, these instructions are for general guidance and should always be used in conjunction with the manufacturer's manual, if available.
Please Verify Your Purchase to Submit a Review
Please note: We use this information only to confirm your purchase, it won’t be published.


