Online Sale!
100% Guaranteed Genuine Parts
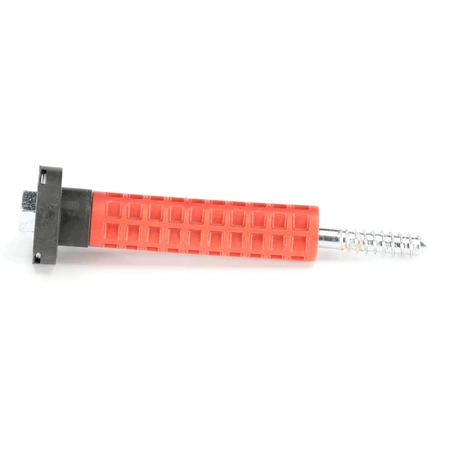
W11316631 Whirlpool Bolt Fastener
Whirlpool W11316631 Bolt We're your #1 source for genuine OEM appliance parts. Contact us for further questions as well as any other appliance parts needs!
Weight : 0.17 lbs
Package Dimension : 6.38 x 2.00 x 1.50
Compatible Brands


About this product
Whirlpool W11316631 Bolt We're your #1 source for genuine OEM appliance parts. Contact us for further questions as well as any other appliance parts needs!
Weight : 0.17 lbs
Package Dimension : 6.38 x 2.00 x 1.50
#1: Start by gathering the required supplies. You will need a Phillips head screwdriver, pliers, and a replacement Whirlpool W11316631 BOLT.
#2: Unplug the appliance from the power source before beginning your repairs.
#3: Locate the Whirlpool W11316631 BOLT. It is located at the back of the appliance near the motor.
#4: Use a Phillips head screwdriver to gently remove the bolts that secure the BOLT in place.
#5: Once the bolts have been removed, grab the pliers and carefully pull the BOLT out of its housing.
#6: Take your new Whirlpool W11316631 BOLT and insert it into the housing. Secure it in place with the previously removed screws.
#7: Test the appliance again to make sure that the BOLT has been properly installed.
#8: Finally, plug the appliance back into the power source and you’re done!
Please keep in mind, these instructions are for general guidance and should always be used in conjunction with the manufacturer's manual, if available.


