Online Sale!
100% Guaranteed Genuine Parts
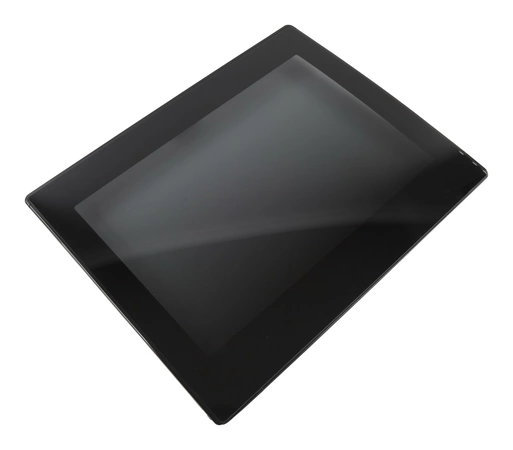
W11101059 Whirlpool Door Assembly
W11101059 Whirlpool Door
Weight : 13.15 lbs
Package Dimension : 32.50 x 25.00 x 2.25
Compatible Brands

About this product
W11101059 Whirlpool Door
Weight : 13.15 lbs
Package Dimension : 32.50 x 25.00 x 2.25
The following parts are replaced by this product
- W10631098
- W10814585
Replacing the Whirlpool W11101059 Lid Striker
Tools you will need:
• Phillips head screwdriver
• Flathead screwdriver
• New Whirlpool W11101059 lid striker
Instructions:
1. Unplug the refrigerator or unplug the power cord from the wall. Make sure the power is completely disconnected before any work is done.
2. Locate the existing lid striker. This can generally be found near the door handle on the upper side of the door.
3. Using a Phillips head screwdriver, loosen and remove the screws that secure the lid striker in place.
4. Carefully pull the old lid striker away from the door.
5. Place the new lid striker in place, ensuring that it is perfectly aligned with the latch that connects to it.
6. Secure the new lid striker in place using the screws that were previously removed.
7. Test the newly replaced lid striker by closing and opening the door several times. The door should open and close smoothly and securely.
8. Plug the power cord back in and test the new lid striker again.
Congratulations! You have successfully completed the replacement of your Whirlpool W11101059 Lid Striker.
Please keep in mind, these instructions are for general guidance and should always be used in conjunction with the manufacturer's manual, if available.


