Online Sale!
100% Guaranteed Genuine Parts
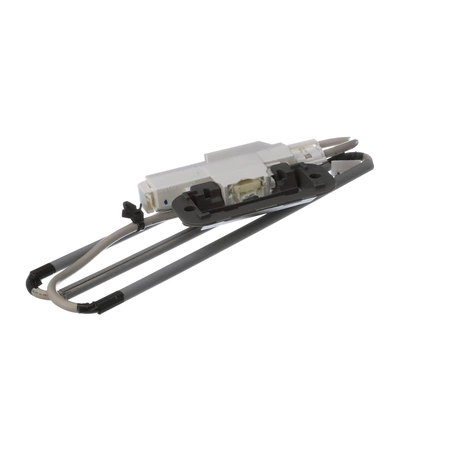
W10861642 Whirlpool Door Latch
W10861642 Whirlpool Door Latch
Weight : 0.70 lbs
Package Dimension : 11.14 x 4.41 x 1.97
Compatible Brands


About this product
W10861642 Whirlpool Door Latch
Weight : 0.70 lbs
Package Dimension : 11.14 x 4.41 x 1.97
The following parts are replaced by this product
- W10697793
- W10787880
Step 1: Unplug Your Refrigerator
Safety first! Before you begin any repairs or maintenance to your refrigerator, make sure that it is unplugged from the power source.
Step 2: Remove the Top Panel
Using a Phillips head screwdriver, remove the five screws holding the top panel in place and then lift the top panel up and away.
Step 3: Disconnect the Wiring
Disconnect the wiring harness from the latch. Pay close attention to how the wiring is connected so you can hook it back up correctly.
Step 4: Unscrew the Old Latch
Using a Phillips head screwdriver, remove the two screws holding the old latch in place and then pull off the latch.
Step 5: Install the New Latch
Position the new latch over the mounting holes and then use the same screws to secure it in place.
Step 6: Reconnect the Wiring
Reconnect the wiring harness to the new latch in the same way it was connected to the old latch.
Step 7: Reinstall the Top Panel
Line the top panel up with the mounting holes and then use the five screws to secure it back in place.
Step 8: Plug In the Refrigerator
Plug the refrigerator back in and turn it on. Test to make sure that the latch is working properly before closing the refrigerator.
Please keep in mind, these instructions are for general guidance and should always be used in conjunction with the manufacturer's manual, if available.


