Online Sale!
100% Guaranteed Genuine Parts
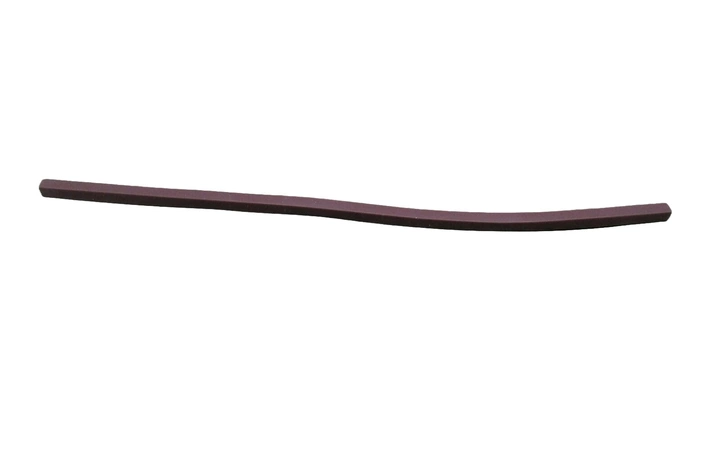
W10754409 Whirlpool Seal
Ensure the longevity and efficiency of your oven with the W10754409 seal from Whirlpool. This high-quality gasket is designed to create a secure barrier, preventing heat and moisture loss during cooking. Perfectly compatible with a range of brands including Admiral, Amana, Jenn-Air, Kenmore, KitchenAid, Magic Chef, Maytag, Norge, Roper, and Whirlpool, this essential part enhances the performance of your appliance.
Crafted with durability in mind, this gasket plays a crucial role in maintaining optimal cooking temperatures and improving energy efficiency. Ideal for both home cooks and professionals alike, upgrading to this reliable seal will make a noticeable difference in your oven's functionality. Don't let a worn seal disrupt your culinary creations; invest in the W10754409 to keep your oven running smoothly.
Weight : 0.06 lbs
Package Dimension : 9.00 x 1.15 x 0.50
Compatible Brands


About this product
Ensure the longevity and efficiency of your oven with the W10754409 seal from Whirlpool. This high-quality gasket is designed to create a secure barrier, preventing heat and moisture loss during cooking. Perfectly compatible with a range of brands including Admiral, Amana, Jenn-Air, Kenmore, KitchenAid, Magic Chef, Maytag, Norge, Roper, and Whirlpool, this essential part enhances the performance of your appliance.
Crafted with durability in mind, this gasket plays a crucial role in maintaining optimal cooking temperatures and improving energy efficiency. Ideal for both home cooks and professionals alike, upgrading to this reliable seal will make a noticeable difference in your oven's functionality. Don't let a worn seal disrupt your culinary creations; invest in the W10754409 to keep your oven running smoothly.
Weight : 0.06 lbs
Package Dimension : 9.00 x 1.15 x 0.50
The following parts are replaced by this product
- 8304523
DIY Guide to Replacing the Whirlpool W10754409 Seal Kit
1. First, you need to purchase the seal kit to replace your old one.
2. Prepare the area you'll be working in by laying out a soft cloth or towels on the counter top. This will protect the surface area you will be working on, causing no damage.
3. Carefully remove the existing seal kit and discard properly.
4. Take out any other components of the seal kit that may need replacing and discard properly.
5. Before installing the new seal kit, use a clean cloth or paper towel to give the area a final wipe down.
6. Unpack the new seal kit, making sure all the parts are present.
7. Install the new seal kit following the provided instructions and the diagrams provided with the replacement part.
8. Once the seal is installed, make sure to carefully test the seal for proper fit.
9. After the installation is complete and all tested, it’s time to re-assemble the items.
10. Plug in your Whirlpool W10754409 and test it out to make sure it’s working well.
11. Finally, after testing the product out, you’re all done! Congratulations for successfully replacing the Whirlpool W10754409 Seal Kit.
Please keep in mind, these instructions are for general guidance and should always be used in conjunction with the manufacturer's manual, if available.
Please Verify Your Purchase to Submit a Review
Please note: We use this information only to confirm your purchase, it won’t be published.


