Online Sale!
100% Guaranteed Genuine Parts
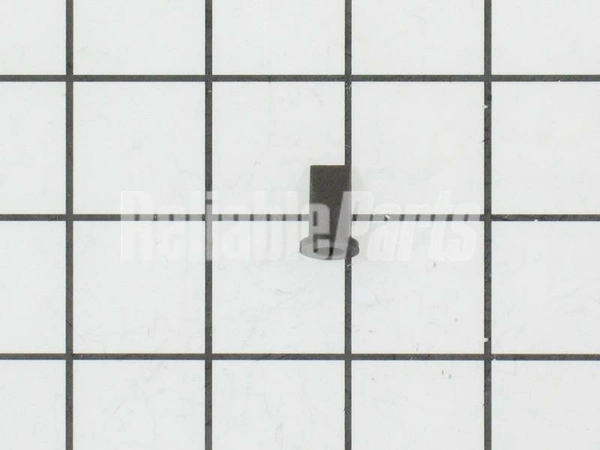
02-3374-01 Scotsman Ice Check Valve
This is a genuine OEM item made by Scotsman Ice.
Compatible Brands

About this product
This is a genuine OEM item made by Scotsman Ice.
No more associated models for this part.
Step 1: Unplug Your Scotsman Ice Machine
Before you begin the check valve replacement process, make sure to unplug your Scotsman ice machine. This will ensure your safety and prevent any electrical shock or injury.
Step 2: Locate the Check Valve
The check valve on the Scotsman ice machine is located just behind the water inlet valve. It is a small cylinder with a rubber seal that connects to a plastic tube.
Step 3: Remove the Existing Check Valve
Once the check valve is located, use a pair of pliers to loosen the nuts that are securing the valve to the plastic tubing. Once the nuts have been loosened, you can gently pull the check valve out of the plastic tubing.
Step 4: Install the Replacement Check Valve
Once the old check valve has been removed, insert the replacement valve into the plastic tubing. Make sure the rubber seal is securely seated and then tighten the nuts with the pliers.
Step 5: Reconnect the Water Supply
Once the replacement check valve has been installed, you can reconnect the water supply line to the valve. Make sure all of the connections are tight to avoid any leaks.
Step 6: Plug in and Test Your Machine
Finally, you can plug in your ice machine and test it to make sure the check valve replacement was successful. If everything works properly, your machine should now be running as good as new.
Please keep in mind, these instructions are for general guidance and should always be used in conjunction with the manufacturer's manual, if available.


