100% Guaranteed Genuine Parts
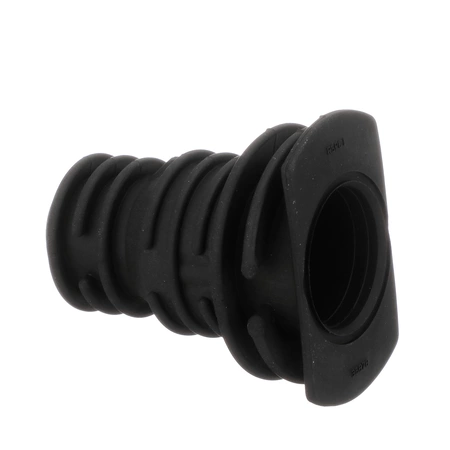
36878 Speed Queen Washer Standpipe Adapter
36878 Speed Queen Washer Standpipe Adapter
Weight : 0.20 lbs
Package Dimension : 4.09 x 3.19 x 2.09
Compatible Brands


About this product
36878 Speed Queen Washer Standpipe Adapter
Weight : 0.20 lbs
Package Dimension : 4.09 x 3.19 x 2.09
The following parts are replaced by this product
- 36878
Replacing the 36878 Speed Queen Washer Standpipe Adapter
Tools needed:
-Adjustable Wrench
-Pipe wrench
-Plumber's Tape
-Screwdriver
Step 1: Power off the washer and turn off the water supply. Unplug the washer from the wall outlet. Place a bucket or bowl underneath the standpipe, to catch any spilled water that may come out during the replacement process.
Step 2: Using the adjustable wrench, loosen and remove the nut on the top of the standpipe. Unscrew the nut until the old adapter can be pulled off the standpipe.
Step 3: Remove the old adapter by pulling it off the standpipe.
Step 4: Take the new adapter and the plumber’s tape. Wrap the tape around the threads of the new adapter, ensuring that all threads are completely covered.
Step 5: Insert the new adapter onto the standpipe and thread the nut onto the adapter, using the adjustable wrench. Tightly secure the nut onto the adapter, making sure the adapter is secured in place.
Step 6: Once the nut is tightened, use the pipe wrench to make sure the connection is tight and secure. Turn on the water supply and test the new adapter.
Step 7: Reconnect the power supply to the washer and turn it on. Test the washer to make sure it is working properly.
Please keep in mind, these instructions are for general guidance and should always be used in conjunction with the manufacturer's manual, if available.


