100% Guaranteed Genuine Parts
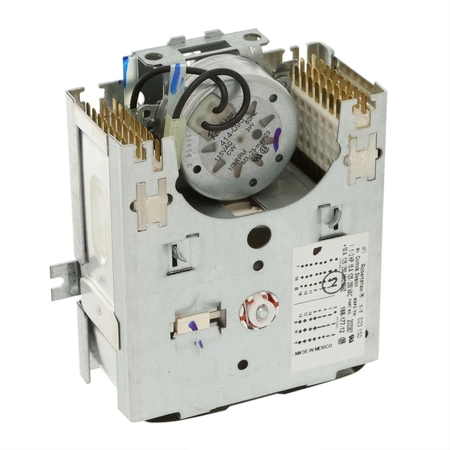
203387P Speed Queen 120V 4 Cycle Timer
203387P Speed Queen Timer 120V 4 Cycle
Weight : 1.16 lbs
Package Dimension : 7.13 x 6.38 x 3.54
Compatible Brands


About this product
203387P Speed Queen Timer 120V 4 Cycle
Weight : 1.16 lbs
Package Dimension : 7.13 x 6.38 x 3.54
Step 1: Shut off the power to the Speed Queen 203387P by disconnecting it from the wall outlet or disconnecting the circuit from your electrical panel.
Step 2: Remove the front panel of the machine by unscrewing the four screws that secure it to the cabinet and pulling it off.
Step 3: Locate the timer switch at the bottom of the front panel. It should be secured with two screws.
Step 4: Unscrew the two screws and carefully pull out the timer switch.
Step 5: Match up the wires coming from the wall to the terminals on the new timer switch, taking note of what color wire goes where.
Step 6: Secure the new timer switch with the two screws and push it back into place.
Step 7: Reinstall the front panel onto the machine and screw it into place.
Step 8: Turn the power back on to the Speed Queen and test the new timer switch.
Please keep in mind, these instructions are for general guidance and should always be used in conjunction with the manufacturer's manual, if available.


