Online Sale!
100% Guaranteed Genuine Parts
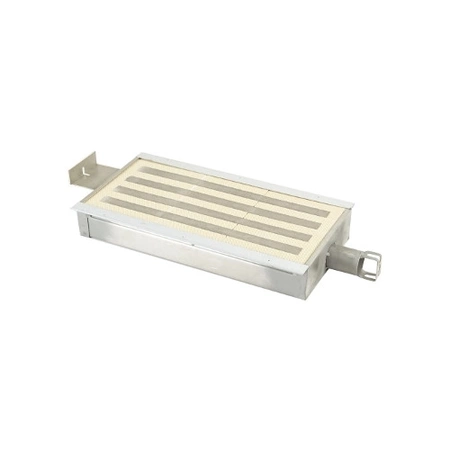
DE81-09627A Samsung Burner Sear Assembly
DE81-09627A Samsung Burner Sear
Compatible Brands

About this product
DE81-09627A Samsung Burner Sear
The following parts are replaced by this product
- 101180
No more associated models for this part.
Step 1: Unplug your Samsung DE81-09627A SVC-BURNER SEAR ASSY from its power source.
Step 2: Place a cloth or towel underneath the burner to protect the surface it is on from heat buildup and any grease or oil that may come from the parts you are about to remove.
Step 3: Locate the screws that the Samsung DE81-09627A SVC-BURNER SEAR ASSY is attached to. They may be hidden in the back of the burners, so make sure to take a look around.
Step 4: Remove the screws with a Phillips screwdriver.
Step 5: Carefully lift the burner off of its mountings.
Step 6: Place the new burner onto the mountings in the reverse order of how you removed the old one. Make sure all of the screws are securely fastened.
Step 7: Plug the burner into its power source and turn the power back on.
Step 8: Test the new burner by turning on a burner and making sure it heats up properly.
Your Samsung DE81-09627A SVC-BURNER SEAR ASSY is now successfully replaced!
Please keep in mind, these instructions are for general guidance and should always be used in conjunction with the manufacturer's manual, if available.


