Online Sale!
100% Guaranteed Genuine Parts
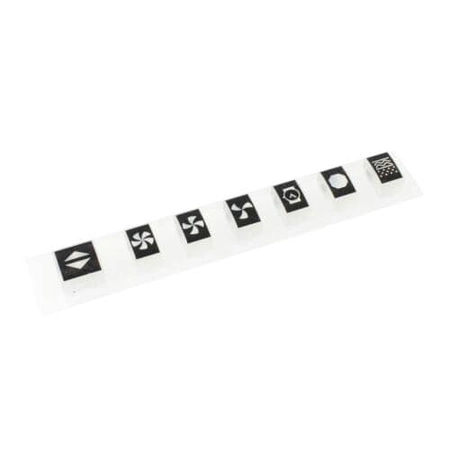
DE81-07764A Samsung Vent Raised Keypad Assembly
Keypad works with some Dacor models of range vent hoods.
Compatible Brands

About this product
Keypad works with some Dacor models of range vent hoods.
The following parts are replaced by this product
- 82757
No more associated models for this part.
Step 1: Prepare to Replace the Samsung SVC-KEYPAD RAISED VENT (DE81-07764A)
Before starting, gather the necessary tools and materials. You will need a Phillips head screwdriver and some replacement parts such as screws or mounting brackets.
Step 2: Disassemble the Samsung SVC-KEYPAD RAISED VENT
Using the Phillips head screwdriver, unscrew the four screws holding the SVC-KEYPAD RAISED VENT in place. Carefully remove the vent from the wall and set aside.
Step 3: Install the Replacement SVC-KEYPAD RAISED VENT
Line up the new vent against the wall and attach it with the screws you have gathered previously. Screw the mounting brackets into place and fasten.
Step 4: Connect the SVC-KEYPAD RAISED VENT
Depending on the type of vent, connect the power cables or other wiring attachments to the system. Make sure all connections are secure before continuing.
Step 5: Test the SVC-KEYPAD RAISED VENT
To make sure everything is working properly, test out the new SVC-KEYPAD RAISED VENT by powering it on and testing the functionality. If everything is working correctly, turn off the power and reattach the faceplate to the vent.
Step 6: Clean up
Once the SVC-KEYPAD RAISED VENT has been successfully replaced, be sure to clean up the work area and dispose of the old vent components properly.
Please keep in mind, these instructions are for general guidance and should always be used in conjunction with the manufacturer's manual, if available.


