Online Sale!
100% Guaranteed Genuine Parts
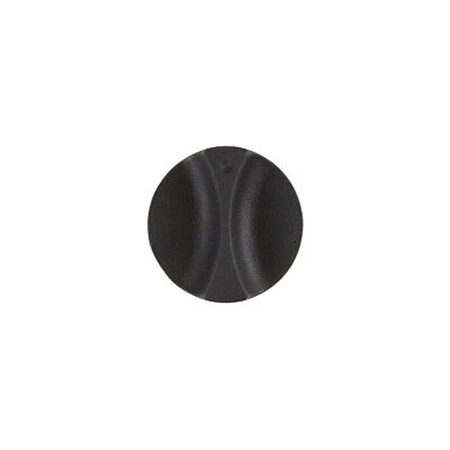
DE81-03435A Samsung Assembly Timer Temperature Control Knob
Maintain your Samsung oven with this high-quality temperature control knob, designed to Maintain your cooking experience. This essential part ensures precise temperature regulation, allowing for accurate cooking results every time. Crafted specifically for Samsung appliances, the component guarantees a perfect fit and seamless operation, making it an ideal replacement for worn or broken knobs. Its durable construction promises longevity, while the sleek design complements your oven's aesthetic. Whether you're baking, roasting, or broiling, this control knob plays a vital role in achieving the perfect dish. Simplify your cooking process and restore your oven to optimal functionality with this reliable part. Get yours today to elevate your culinary adventures!
Weight : 0.05 lbs
Package Dimension : 2.60 x 1.30 x 2.01
Compatible Brands

About this product
Maintain your Samsung oven with this high-quality temperature control knob, designed to Maintain your cooking experience. This essential part ensures precise temperature regulation, allowing for accurate cooking results every time. Crafted specifically for Samsung appliances, the component guarantees a perfect fit and seamless operation, making it an ideal replacement for worn or broken knobs. Its durable construction promises longevity, while the sleek design complements your oven's aesthetic. Whether you're baking, roasting, or broiling, this control knob plays a vital role in achieving the perfect dish. Simplify your cooking process and restore your oven to optimal functionality with this reliable part. Get yours today to elevate your culinary adventures!
Weight : 0.05 lbs
Package Dimension : 2.60 x 1.30 x 2.01
The following parts are replaced by this product
- 82267B
- 82267G
No more associated models for this part.
Step-by-Step DIY Instructions on Replacing the Samsung DE81-03435A SVC-KNOB TIMER TEMP CNTRL BLUE
1. Unplug the device. Before beginning any repair or replacement, it's important to disconnect the power source by unplugging the appliance.
2. Locate the timer knob from the display control panel. Depending on the model, there may be additional screws or connector wires attached to the back of the timer knob that need to be removed before taking off the timer knob.
3. Remove the screws and/or connector wires (if applicable) from the timer knob. Make sure to store all parts in a safe place for reference during the installation of the new timer knob.
4. Install the new timer knob. Place the new timer knob in position on the display control panel and secure with the appropriate screws and/or connector wires.
5. Plug in the device and test. After ensuring the installation is complete, plug in the device and make sure the timer knob properly functions.
6. Celebrate a successful repair job! Now enjoy your newly repaired appliance.
Please keep in mind, these instructions are for general guidance and should always be used in conjunction with the manufacturer's manual, if available.
Please Verify Your Purchase to Submit a Review
Please note: We use this information only to confirm your purchase, it won’t be published.


