Online Sale!
100% Guaranteed Genuine Parts
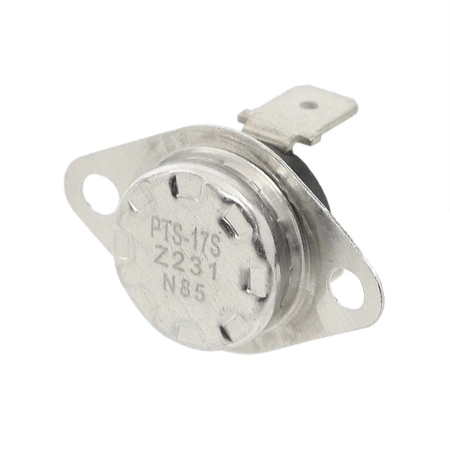
DC47-00016A Samsung Thermostat
Samsung Sears Kenmore Clothes Dryer THERMAL FUSE DC47-00016A
Weight : 0.01 lbs
Package Dimension : 1.22 x 0.63 x 1.97
Compatible Brands


About this product
Samsung Sears Kenmore Clothes Dryer THERMAL FUSE DC47-00016A
Weight : 0.01 lbs
Package Dimension : 1.22 x 0.63 x 1.97
Replacing the Thermal Fuse on a Samsung Dryer
Tools Required: Phillips head screwdriver, flat-head screwdriver, pliers
Instructions:
1. Unplug the dryer from the wall outlet to avoid electrical shocks.
2. Remove the back panel of the dryer by unscrewing the screws using a Phillips head screwdriver.
3. Locate the thermal fuse, typically located near the heating element at the back of the dryer.
4. Remove the wire connections on the thermal fuse using a flat-head screwdriver or pliers.
5. Disconnect the mounting bracket and carefully withdraw the thermal fuse from the dryer.
6. Insert the new thermal fuse into the dryer, mount the bracket, and reattach the wire connections.
7. Replace the back panel of the dryer and secure it with the screws.
8. Plug in the dryer and reset the timer to test your repair.
9. Double-check all connections before operating the dryer.
Please keep in mind, these instructions are for general guidance and should always be used in conjunction with the manufacturer's manual, if available.


