Online Sale!
100% Guaranteed Genuine Parts
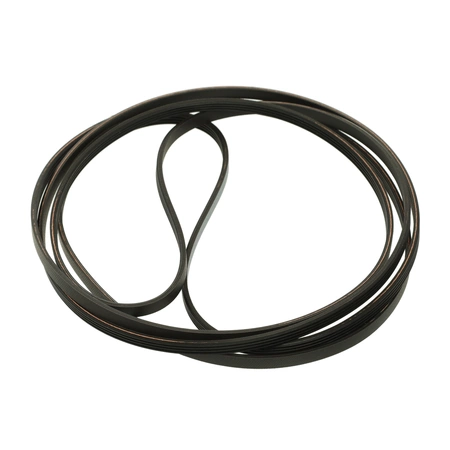
4400EL2001F LG Dryer Drum Belt
4400EL2001F is an original equipment manufactured (OEM) part. Ensure your LG dryer operates at peak performance with this high-quality replacement drum belt. Designed specifically for LG models, this durable part ensures smooth and efficient drum movement, tackling laundry loads with ease. The precise fit of SKU 4400EL2001F guarantees effortless installation, allowing you to get back to your routine without delay. Engineered with reliability in mind, this belt is a vital component for maintaining the optimal functionality of your dryer. Whether you're facing issues with drying efficiency or unusual noises, replacing your worn or broken belt is a straightforward solution. Trust in LG Electronics' commitment to quality and enhance your appliance’s longevity with this essential dryer part.
Weight : 0.09 lbs
Package Dimension : 6.97 x 3.11 x 0.55
Compatible Brands


About this product
4400EL2001F is an original equipment manufactured (OEM) part. Ensure your LG dryer operates at peak performance with this high-quality replacement drum belt. Designed specifically for LG models, this durable part ensures smooth and efficient drum movement, tackling laundry loads with ease. The precise fit of SKU 4400EL2001F guarantees effortless installation, allowing you to get back to your routine without delay. Engineered with reliability in mind, this belt is a vital component for maintaining the optimal functionality of your dryer. Whether you're facing issues with drying efficiency or unusual noises, replacing your worn or broken belt is a straightforward solution. Trust in LG Electronics' commitment to quality and enhance your appliance’s longevity with this essential dryer part.
Weight : 0.09 lbs
Package Dimension : 6.97 x 3.11 x 0.55
The following parts are replaced by this product
- 4400EL2001C
- 4400EL2001E
DIY Instructions for Replacing the LG 4400EL2001F Dryer Drum Belt
1. Unplug the power cord from the wall outlet.
2. Remove the dryer's top panel by lifting it off the back and gently pulling it away from the dryer cabinet.
3. Pull out the lint trap, then unscrew the screws located at the back of the lint trap housing and remove the housing.
4. Carefully lift and remove the drum from the dryer cabinet, taking note of its position.
5. Look at the old belt and identify the path it takes around the dryer drum, motor pulley and idler pulley.
6. Wet a clean cloth with rubbing alcohol and wipe down all the pulleys, wiping from the center to the outside rim of each pulley. This will remove any lubricant buildup that may be present.
7. Look for any signs of wear and tear on the old belt, using your fingers to feel for any tears or frays.
8. Place the new belt around the dryer drum, following the same path as the old belt (make sure it is seated properly).
9. Loop the belt over both the motor pulley and the idler pulley.
10. Tighten the idler pulley to secure the belt in place, making sure the belt is not too loose or too tight.
11. Replace the dryer drum and make sure all the pulleys are in the correct positions.
12. Reinstall the top panel, lint trap housing and the screws.
13. Plug the power cord back into the wall outlet and test the dryer to make sure it runs correctly.
Please keep in mind, these instructions are for general guidance and should always be used in conjunction with the manufacturer's manual, if available.


