Online Sale!
100% Guaranteed Genuine Parts
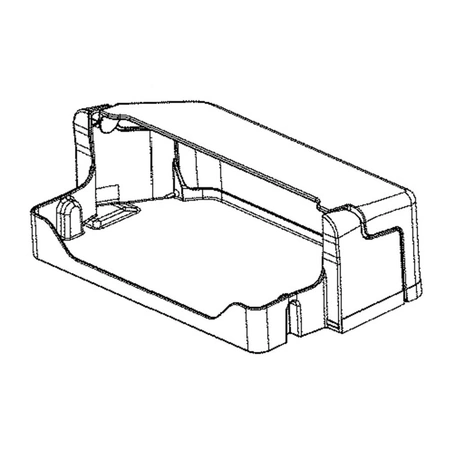
WR71X32104 GE Refrigerator Dairy Door
Maintain the functionality of your refrigerator with this premium dairy door designed specifically for select GE models. Crafted for seamless compatibility with a range of brands including Hotpoint, Haier, Monogram, and Café, this durable part ensures your dairy products are easily accessible and well-organized.
Constructed with high-quality materials, the dairy door offers robust performance, making it a reliable choice for your appliance repair needs. Its sleek design not only maintains the aesthetic of your refrigerator but also adds practicality to storage solutions. Installing this part can help optimize your refrigerator's efficiency and longevity, ensuring it meets all your food storage demands. Replace your worn-out refrigerator door to keep your perishables fresh and within reach.
Weight : 2.42 lbs
Package Dimension : 21.00 x 8.00 x 2.00
Compatible Brands


About this product
Maintain the functionality of your refrigerator with this premium dairy door designed specifically for select GE models. Crafted for seamless compatibility with a range of brands including Hotpoint, Haier, Monogram, and Café, this durable part ensures your dairy products are easily accessible and well-organized.
Constructed with high-quality materials, the dairy door offers robust performance, making it a reliable choice for your appliance repair needs. Its sleek design not only maintains the aesthetic of your refrigerator but also adds practicality to storage solutions. Installing this part can help optimize your refrigerator's efficiency and longevity, ensuring it meets all your food storage demands. Replace your worn-out refrigerator door to keep your perishables fresh and within reach.
Weight : 2.42 lbs
Package Dimension : 21.00 x 8.00 x 2.00
Step 1: Disconnect the Power Source
Before beginning this repair, make sure to disconnect the power source.
Step 2: Locate Replacement Part
Search online for the replacement part, which is the GE WR71X32104 clear door in-door dairy bin. Make sure you purchase the correct part for your appliance model.
Step 3: Remove Old Door
Carefully remove the old door by gently pulling it away from the refrigerator. Put the door aside and locate the retaining clips that hold the dairy bin in place.
Step 4: Remove Dairy Bin
Remove the dairy bin by gently lifting it out of the refrigerator. Carefully set the bin aside.
Step 5: Install New Dairy Bin
Place the new dairy bin into the refrigerator. Make sure the retaining clips are properly aligned and install them back into place.
Step 6: Secure New Door
Secure the new door onto the front of the refrigerator by inserting it into the slots. Make sure the door is properly aligned and secure it with retaining clips.
Step 7: Reconnect Power Source
Once the door is installed, reconnect the power source and test the door.
Please keep in mind, these instructions are for general guidance and should always be used in conjunction with the manufacturer's manual, if available.


