Online Sale!
100% Guaranteed Genuine Parts
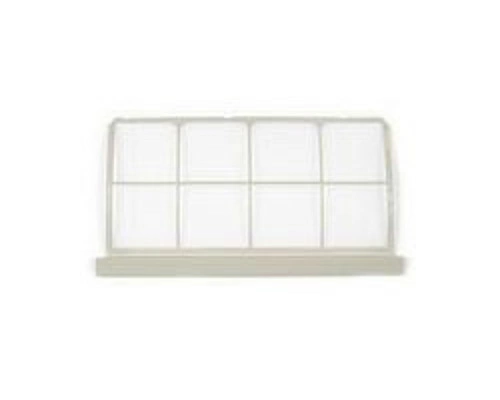
WJ85X10041 GE Air Filter Replacement
GE General Electric Hotpoint A/C Air Conditioner Filter WJ85X10041
Size: Filter 17-1/4" wide x 8-1/2" deep Handle 18-3/8" wide
This is a genuine General Electric (GE) air conditioner replacement filter.
We are a Factory Authorized Parts Distributor for General Electric Hotpoint. Trust us for all of your General Electric Hotpoint appliance parts and accessories needs.
Weight : 1.74 lbs
Package Dimension : 22.80 x 16.85 x 0.63
Compatible Brands


About this product
GE General Electric Hotpoint A/C Air Conditioner Filter WJ85X10041
Size: Filter 17-1/4" wide x 8-1/2" deep Handle 18-3/8" wide
This is a genuine General Electric (GE) air conditioner replacement filter.
We are a Factory Authorized Parts Distributor for General Electric Hotpoint. Trust us for all of your General Electric Hotpoint appliance parts and accessories needs.
Size: Filter 17-1/4" wide x 8-1/2" deep Handle 18-3/8" wide
This is a genuine General Electric (GE) air conditioner replacement filter.
We are a Factory Authorized Parts Distributor for General Electric Hotpoint. Trust us for all of your General Electric Hotpoint appliance parts and accessories needs.
Weight : 1.74 lbs
Package Dimension : 22.80 x 16.85 x 0.63
The following parts are replaced by this product
- RAA72A
1. Turn Off the Air Conditioner: Before replacing the filter in your GE air conditioner, turn the power off from the unit. You can do this by pressing the power button or unplugging the unit from the wall.
2. Locate the Filter: Carefully locate the filter on the back or side of the unit. Use a flashlight to ensure you are looking at the correct filter.
3. Remove the Old Filter: Use gloves to remove the old filter from the unit gently. Take notice of how the old filter is placed into the unit; you will need that information to insert the new filter.
4. Clean the Unit: Clean the area around the filter. This will help ensure that your air conditioner is running optimally and free of dust and dirt.
5. Insert the New Filter: Insert the new filter inside the unit. Make sure you insert the filter with the correct side facing inward.
6. Replace the Cover: Replace the cover plate over where the filter was inserted.
7. Turn On the Power: Turn the power back on to the unit and enjoy your newly replaced filter!
Please keep in mind, these instructions are for general guidance and should always be used in conjunction with the manufacturer's manual, if available.


