Online Sale!
100% Guaranteed Genuine Parts
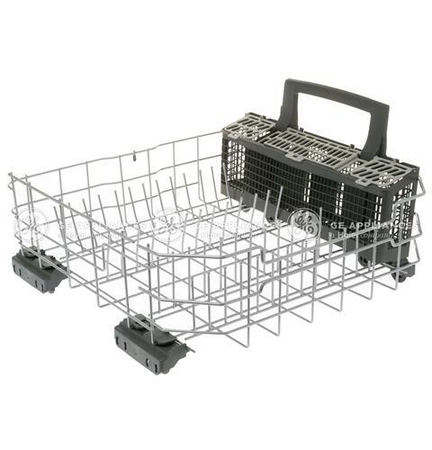
WD28X28918 GE Dishwasher Lower Dishrack Assembly
The GE WD28X28918 Lower Rack is a genuine OEM (Original Equipment Manufacturer) part for select GE Appliance and Hotpoint dishwasher models. Follow the instructions in the owner's manual to install this part. Note that the GE WD28X28918 lower dishrack replaces a number of older styles of dishrack from GE and Hotpoint, which may cause incompatibilities with the silverware baskets. Please check for compatible models prior to purchase.
Weight : 36.39 lbs
Package Dimension : 23.74 x 22.36 x 9.53
Compatible Brands


About this product
The GE WD28X28918 Lower Rack is a genuine OEM (Original Equipment Manufacturer) part for select GE Appliance and Hotpoint dishwasher models. Follow the instructions in the owner's manual to install this part. Note that the GE WD28X28918 lower dishrack replaces a number of older styles of dishrack from GE and Hotpoint, which may cause incompatibilities with the silverware baskets. Please check for compatible models prior to purchase.
Weight : 36.39 lbs
Package Dimension : 23.74 x 22.36 x 9.53
The following parts are replaced by this product
- WD28X22659
- WD28X23157
1. Unhook the lower rack from the upper glides.
2. Remove the existing lower rack and lift it out of the dishwasher.
3. Take the new replacement lower rack (GE WD28X28918 LOWER RACK AND SWB REPLACEMENT) and lift it into place.
4. Push the new rack into the dishwasher and slide the rear wheels onto the upper glides.
5. The rack should be securely installed. Make sure that there is no play in the rack or glides.
Please keep in mind, these instructions are for general guidance and should always be used in conjunction with the manufacturer's manual, if available.


