Online Sale!
100% Guaranteed Genuine Parts
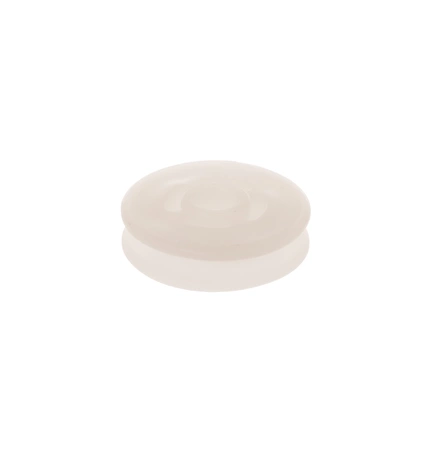
WD16X21836 GE Dishwasher Pulley
Maintain your dishwasher with this high-quality pulley, expertly designed for a seamless fit in multiple GE appliance models. This hinge part ensures smooth operation, making it essential for maintaining your dishwasher's performance. Compatible with leading brands such as Hotpoint, Haier, Monogram, and Café, this versatile component will help restore functionality to your kitchen appliance. Durable and reliable, it will withstand regular use while providing the dependable service you expect from GE products. Whether you are troubleshooting a malfunction or conducting a routine maintenance check, this part is a vital addition to your repair toolkit. Ensure your dishwasher runs efficiently and effectively with this essential replacement part.
Weight : 0.10 lbs
Package Dimension : 6.00 x 6.00 x 0.40
Compatible Brands


About this product
Maintain your dishwasher with this high-quality pulley, expertly designed for a seamless fit in multiple GE appliance models. This hinge part ensures smooth operation, making it essential for maintaining your dishwasher's performance. Compatible with leading brands such as Hotpoint, Haier, Monogram, and Café, this versatile component will help restore functionality to your kitchen appliance. Durable and reliable, it will withstand regular use while providing the dependable service you expect from GE products. Whether you are troubleshooting a malfunction or conducting a routine maintenance check, this part is a vital addition to your repair toolkit. Ensure your dishwasher runs efficiently and effectively with this essential replacement part.
Weight : 0.10 lbs
Package Dimension : 6.00 x 6.00 x 0.40
The following parts are replaced by this product
- WD16X10013
Step-by-Step Guide on Replacing the WD16X21836 Hinge Pulley
1. Before starting any repair work, unplug the power cord from the appliance.
2. Open the door of the appliance and locate the hinge pulley located at the top of the door.
3. Use a Phillips head screwdriver to remove the two screws that secure the hinge pulley in place.
4. Gently lift the hinge pulley out of its housing and set aside.
5. Insert the new WD16X21836 Hinge Pulley into the appliance and secure it with the two screws.
6. Close the door of the appliance and plug the power cord back in.
7. Check to ensure that the hinge pulley is working properly.
This step-by-step guide will help you easily replace the WD16X21836 Hinge Pulley on any brand or model of appliance. Now that you know how to replace it, you’re one step closer to completing your DIY repair!
Please keep in mind, these instructions are for general guidance and should always be used in conjunction with the manufacturer's manual, if available.


