Online Sale!
100% Guaranteed Genuine Parts
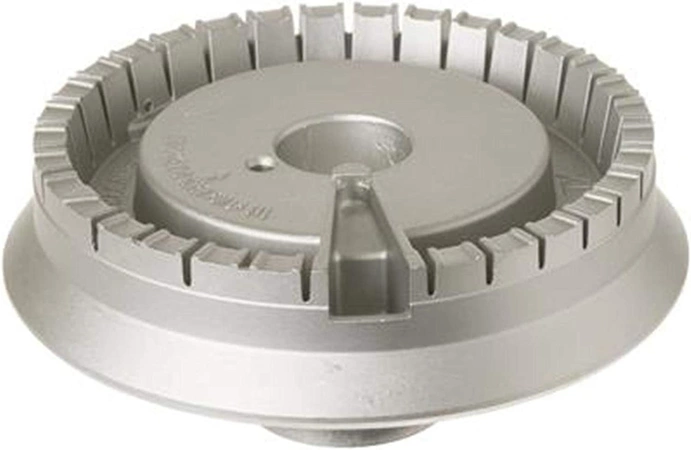
WB16K10062 GE Oven Surface Burner Base
Maintain your cooking performance with this high-quality gas burner and control valve part designed specifically for select GE appliances. Crafted to ensure reliable operation, this burner base is compatible with various models from GE, Hotpoint, Haier, Monogram, and Café. Its robust construction guarantees durability and efficient heat distribution, making it an essential component for maintaining your oven’s functionality.
Installing this burner base can help resolve uneven cooking and improve overall culinary results. Ideal for DIY repairs, it seamlessly fits into your existing setup, ensuring a perfect match for optimal performance. Maintain your kitchen with this dependable oven part and enjoy consistent results with every meal.
Weight : 0.86 lbs
Package Dimension : 7.09 x 6.14 x 2.44
Compatible Brands


About this product
Maintain your cooking performance with this high-quality gas burner and control valve part designed specifically for select GE appliances. Crafted to ensure reliable operation, this burner base is compatible with various models from GE, Hotpoint, Haier, Monogram, and Café. Its robust construction guarantees durability and efficient heat distribution, making it an essential component for maintaining your oven’s functionality.
Installing this burner base can help resolve uneven cooking and improve overall culinary results. Ideal for DIY repairs, it seamlessly fits into your existing setup, ensuring a perfect match for optimal performance. Maintain your kitchen with this dependable oven part and enjoy consistent results with every meal.
Weight : 0.86 lbs
Package Dimension : 7.09 x 6.14 x 2.44
The following parts are replaced by this product
- WB16K10044
1. Begin by turning off the power supply to your range, either by unplugging it or flipping its breaker switch in the circuit box.
2. Once the power is disconnected from the range, begin by removing the grates and any remaining burners placed on top of your range.
3. Using a flat head screwdriver, remove the screws that hold the stove top to the range by unscrewing them.
4. Locate the defective burner and its corresponding wiring. Using your flat head screwdriver again, unscrew the burner’s mounting bracket and remove the wires connected to it.
5. Take out the remaining screws attached to the burner and lift it up to take it out of its place.
6. Insert the new GE WB16K10062 VISION BURNER XL44 into the appropriate holes and make sure it is secure.
7. Attach the accompanying mounting bracket and screws with your flat head screwdriver and connect the wires securely to their respective terminals.
8. Place the burner back onto the stove top and secure it with screws.
9. Place the grates and other burners back onto the top of the range.
10. Turn the power back on and test out your new burner to see if it is working correctly.
Congratulations! You have successfully replaced the defective GE WB16K10062 VISION BURNER XL44!
Please keep in mind, these instructions are for general guidance and should always be used in conjunction with the manufacturer's manual, if available.


