Online Sale!
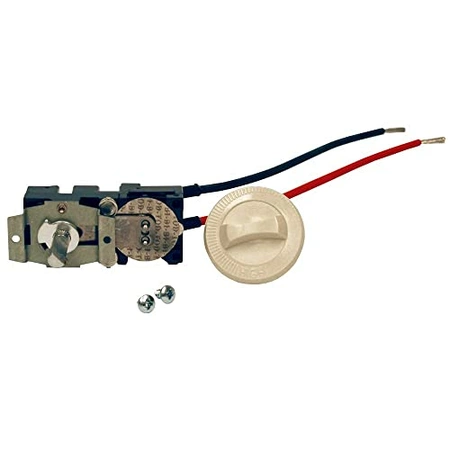
67065 Cadet Manufacturing Almond Thermostat Kit
67065 Cadet Thermostat Kit (Almond)
Compatible Brands

About this product
67065 Cadet Thermostat Kit (Almond)
No more associated models for this part.
DIY Guide to Replacing the Cadet Manufacturing 67065 Cadet Thermostat Kit
Are you ready to replace your Cadet Manufacturing 67065 Cadet Thermostat Kit? Don't worry - it's a relatively easy job that only takes a few steps. This guide will walk you through the process and help you understand what tools you'll need and how to safely remove and install the thermostat. So let's get started!
Safety First: Before starting, make sure the power to the Cadet Manufacturing 67065 Cadet Thermostat is turned off at the breaker box in order to avoid electric shock.
Tools Needed: Flathead screwdriver, Phillips head screwdriver, wire strippers, needle-nose pliers.
Step 1: Remove the cover of the Cadet Manufacturing 67065 Cadet Thermostat. This can be done by using the flathead screwdriver to loosen the screws on the side of the thermostat. Once the screws are loosened, carefully take the cover off and set it aside.
Step 2: Disconnect the wires from both sides of the Cadet Manufacturing 67065 Cadet Thermostat. This can be done by using the needle-nose pliers to grasp the sides of the wire and gently pull them away from the back of the thermostat.
Step 3: Strip the ends of the wires with the wire strippers and reconnect them to the new thermostat following the instructions provided by the manufacturer. Make sure to match the colors of the wires before attaching them.
Step 4: Reattach the cover of the new thermostat to the wall. Use the Phillips head screwdriver to tighten the screws until the cover is secured firmly in place.
Step 5: Turn the power back on at the breaker box and test the new Cadet Manufacturing 67065 Cadet Thermostat. Make sure it is working properly and that the temperature is set correctly.
You've now successfully replaced the Cadet Manufacturing 67065 Cadet Thermostat! Congratulations! Now you can enjoy the comfort and convenience of your new thermostat.
Please keep in mind, these instructions are for general guidance and should always be used in conjunction with the manufacturer's manual, if available.


