Online Sale!
100% Guaranteed Genuine Parts
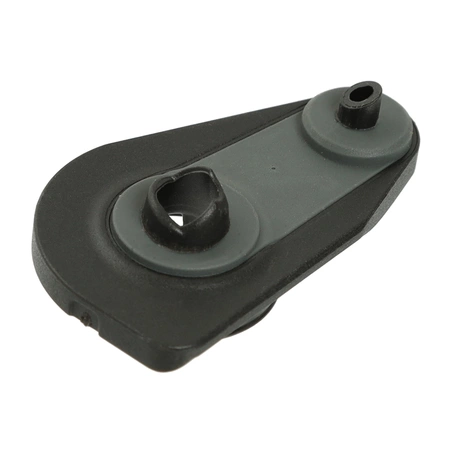
00616233 Bosch Small Appliance Plunger
00616233 Bosch Small Appliance Plunger
Compatible Brands


About this product
00616233 Bosch Small Appliance Plunger
The following parts are replaced by this product
- 616233
No more associated models for this part.
DIY How to Replace the 00616233 Bosch Coffee Maker Plunger
Replacing the plunger for the 00616233 Bosch Coffee Maker can seem like a daunting task, but with the right tools and step-by-step instructions, it's easy to do yourself. Follow this guide and you'll have your coffee maker plunger replaced in no time.
Tools Needed:
• Philips screwdriver
• Flathead screwdriver
• Pliers
• Replacement 00616233 Bosch Coffee Maker Plunger
Step 1: Safety First
Before beginning any repairs, always unplug the coffee maker to ensure that the appliance is safe to work on.
Step 2: Remove the Bottom Panel
Using the Philips screwdriver, you'll need to remove the screws located at the base of the coffee maker. Once all the screws are out, you can gently pull off the bottom panel. Set aside for reassembly.
Step 3: Access the Plunger Holder
Once the bottom panel is removed, you should be able to access the plunger holder. Be sure to locate the holder to familiarize yourself with its shape and size.
Step 4: Unscrew Plunger Holder
Using the flathead screwdriver, unscrew the plunger holder from the body of the machine.
Step 5: Remove the Old Plunger
Once the holder is loose, you can remove the old plunger by simply pulling it out. Then, you can discard or keep the old plunger as needed.
Step 6: Place New Plunger in Holder
Now it's time to insert your new plunger. Make sure that the new plunger fits snugly in the plunger holder. If it doesn't fit, you may need to use some pliers to adjust the holder slightly.
Step 7: Reattach Holder
Once your new plunger is in place, you can reattach the plunger holder with the flathead screwdriver.
Step 8: Reattach Bottom Panel
Finally, you can replace the bottom panel and use the Philips screwdriver to secure it in place.
Congratulations, you've just replaced the 00616233 Bosch Coffee Maker Plunger. Enjoy your freshly brewed coffee!
Please keep in mind, these instructions are for general guidance and should always be used in conjunction with the manufacturer's manual, if available.
Please Verify Your Purchase to Submit a Review
Please note: We use this information only to confirm your purchase, it won’t be published.


