Online Sale!
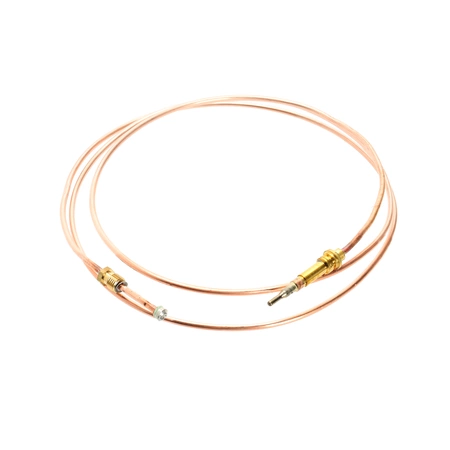
508041 Bertazzoni Oven Burner Thermocouple
508041 Bertazzoni Thermocouple Oven Burner
Weight : 1.09 lbs
Package Dimension : 8.54 x 3.94 x 4.49
Compatible Brands

About this product
508041 Bertazzoni Thermocouple Oven Burner
Weight : 1.09 lbs
Package Dimension : 8.54 x 3.94 x 4.49
No more associated models for this part.
1. Begin by unplugging the power from the wall outlet and turning off the gas supply to the Bertazzoni Range.
2. Remove the cooktop grates and top griddle. Disconnect the gas supply hose from the range.
3. Open the oven door and locate the thermocouple oven burner assembly.
4. Using a screwdriver, unscrew the screws which secure the thermocouple oven burner assembly to the range and remove it.
5. Remove the old thermocouple oven burner assembly. Install the new one. Secure it to the range with the screws you removed in step 4.
6. Reconnect the gas supply hose to the range and put the griddle and grates back into place.
7. Turn the gas supply back on to the range and plug in the power.
8. Test the power and gas supply. Light the surface burners and check that each is receiving gas and producing a flame.
9. Once your new thermocouple oven burner assembly has been installed and tested, enjoy your newly replaced range!
Please keep in mind, these instructions are for general guidance and should always be used in conjunction with the manufacturer's manual, if available.


