Online Sale!
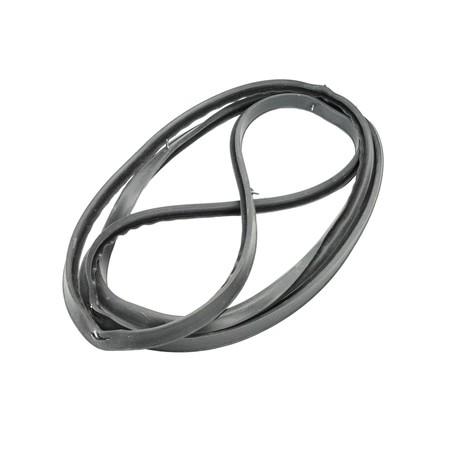
411118 Bertazzoni Range Front Oven Gasket
411118 Bertazzoni Range Front Oven Gasket
Weight : 0.72 lbs
Package Dimension : 8.70 x 7.48 x 1.54
Compatible Brands

About this product
411118 Bertazzoni Range Front Oven Gasket
Weight : 0.72 lbs
Package Dimension : 8.70 x 7.48 x 1.54
The following parts are replaced by this product
- 411090
No more associated models for this part.
1. Prepare Your Tools – To replace a Bertazzoni Range Front Oven Gasket, you will need a screwdriver, tape measure and replacement gasket.
2. Measure the Gasket – Use a tape measure to measure the old gasket and note the measurements.
3. Find the Replacement Gasket – Bring your measurements with you to the store and buy a replacement gasket that matches your measurements.
4. Remove the Old Gasket – Before removing the old gasket, make sure the oven is unplugged from the wall. Using a screwdriver, carefully unscrew any screws that are securing the old gasket.
5. Install the New Gasket – Place the new gasket into the groove in the oven, making sure to follow the manufacturer's instructions for installation.
6. Secure the Gasket – Once the gasket is installed into the groove correctly, use the screwdriver to secure it with screws.
7. Test the Gasket – Plug the oven back in and turn it on, testing to make sure the gasket is sealed. If you can feel any air leaks, adjust the screws until the seal is tight.
8. Enjoy Your Oven – After the replacement gasket is installed properly, you can enjoy using your oven again!
Please keep in mind, these instructions are for general guidance and should always be used in conjunction with the manufacturer's manual, if available.
Please Verify Your Purchase to Submit a Review
Please note: We use this information only to confirm your purchase, it won’t be published.


