Online Sale!
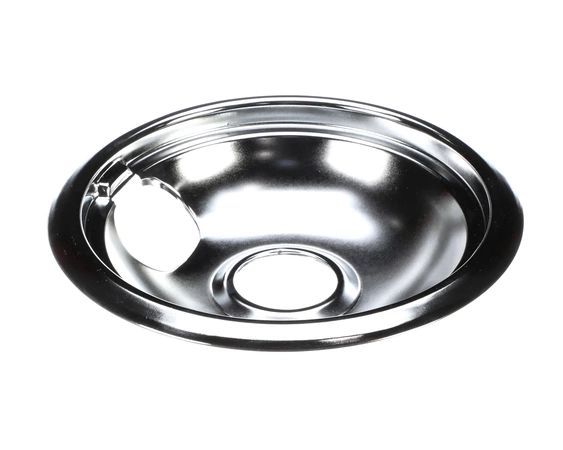
Z-E24F01-022300 Avanti Drip Pan, 8"
The perfect addition to any kitchen, We're your #1 source for genuine OEM appliance parts. Contact us for further questions as well as any other appliance parts needs!
Compatible Brands

About this product
The perfect addition to any kitchen, We're your #1 source for genuine OEM appliance parts. Contact us for further questions as well as any other appliance parts needs!
No more associated models for this part.
DIY Guide to Replacing a Kitchen Sink's Large Drip Bowl
Replacing the large drip bowl of your kitchen sink may be necessary due to damage or wear and tear. This DIY guide will provide step-by-step instructions on how to replace the large drip bowl in your kitchen sink.
Tools and Materials Needed:
-New drip bowl
-Plumber’s putty
-Bucket
-Wrench
-Screwdriver
Step 1: Turn off the water supply to the kitchen sink. Next, place a bucket underneath the sink to catch any excess water that might spill out once you begin the process.
Step 2: Use a wrench to loosen and remove the nuts connecting the sink to the countertop. Once done, carefully pull the sink away from the countertop.
Step 3: Use a screwdriver to remove the screws attaching the existing large drip bowl to the sink. Carefully lift the existing drip bowl away from the sink.
Step 4: Clean the surface where the new drip bowl will be installed.
Step 5: Apply a thin layer of plumber’s putty around the rim of the new drip bowl.
Step 6: Position the new drip bowl into the sink. Secure the bowl using the screws.
Step 7: Tighten the nuts connecting the sink to the countertop in order to properly seat the drip bowl.
Step 8: Test the sink to make sure there are no leaks.
Congratulations! You have successfully replaced the large drip bowl of your kitchen sink.
Please keep in mind, these instructions are for general guidance and should always be used in conjunction with the manufacturer's manual, if available.


