Online Sale!
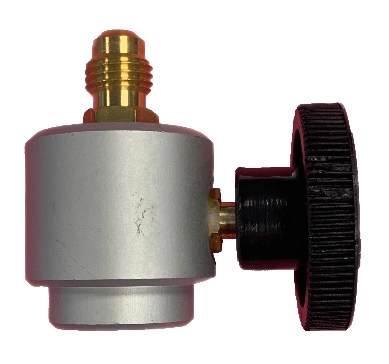
L13005321A American Vulkan Lokring Refrigerant Extraction Valve
L13005321A American Vulkan Lokring Refrigerant Extraction Valve
Weight : 0.07 lbs
Package Dimension : 2.17 x 1.97 x 2.13
Compatible Brands

About this product
L13005321A American Vulkan Lokring Refrigerant Extraction Valve
Weight : 0.07 lbs
Package Dimension : 2.17 x 1.97 x 2.13
The following parts are replaced by this product
- L13005321
No more associated models for this part.
Step 1: Shut off power to your refrigerator. Unplug the refrigerator from the wall or turn its circuit off at the breaker box.
Step 2: Locate the Refrigerant Extraction Valve. It is usually located at the back upper corner of the refrigerator.
Step 3: Disconnect the refrigerant lines using a wrench or pliers. Make sure the lines are properly marked if there's more than one connected to the valve.
Step 4: Unscrew the screws or bolts that secure the valve in place and remove it.
Step 5: Install the new Refrigerant Extraction Valve by securing it with the same screws or bolts.
Step 6: Connect the refrigerant lines to the new valve and make sure they are properly tightened.
Step 7: Turn the power back on for the refrigerator and let it run for a few minutes to allow the lines to equalize.
Step 8: Test the valve to make sure it is working properly.
Step 9: If everything seems to be functioning properly, you've successfully replaced the Refrigerant Extraction Valve.
Please keep in mind, these instructions are for general guidance and should always be used in conjunction with the manufacturer's manual, if available.


