Online Sale!
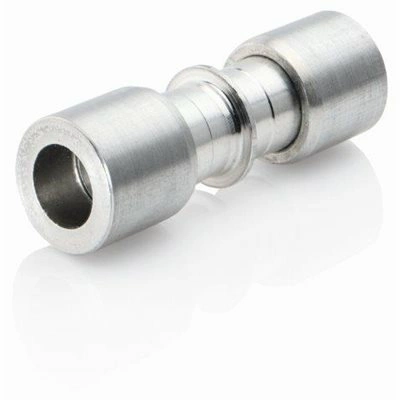
L13000502 American Vulkan Lokring 3/16 Aluminum Coupling
L13000502 American Vulkan Lokring 3/16 Alum Coupling
Weight : 0.03 lbs
Package Dimension : 3.74 x 1.85 x 0.55
Compatible Brands

About this product
L13000502 American Vulkan Lokring 3/16 Alum Coupling
Weight : 0.03 lbs
Package Dimension : 3.74 x 1.85 x 0.55
No more associated models for this part.
Step 1: Gather the Necessary Materials - To complete this project, you will need two American Vulkan® Lokring® L13000502 .188" or 3/16", a wrench, and lubricant.
Step 2: Prepare the Area - Clear the area of debris and make sure the existing Lokring connects firmly to the attachment site.
Step 3: Remove the Old Lokring - Using the wrench, twist the old Lokring counter clockwise until it is loose and can be removed from the attachment point.
Step 4: Lubricate the New Lokring - Apply a light coating of lubricant to the interior and exterior of the new Lokring for easier installation.
Step 5: Install the New Lokring - Thread the new Lokring onto the attachment point and use the wrench to twist it clockwise until it is secure.
Step 6: Test the Installation - Make sure the new Lokring is tightly secured by testing the connection and ensuring there are no leaks in the seal.
Step 7: Clean Up - Clean up any debris that has been left behind and dispose of the used Lokring properly.
Please keep in mind, these instructions are for general guidance and should always be used in conjunction with the manufacturer's manual, if available.


