Online Sale!
100% Guaranteed Genuine Parts
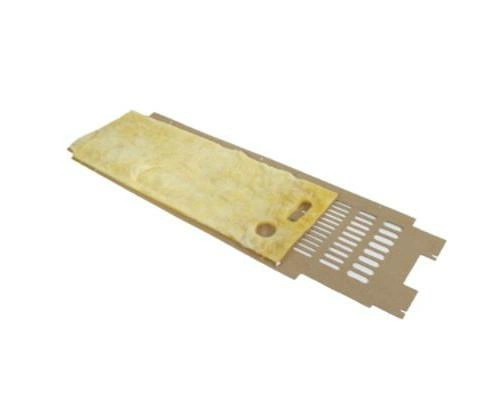
WP2188755 Whirlpool Rear Panel
This SxS Refrigerator Rear Compartment Cover covers the compressor, condenser and other components at the back of the appliance. Unscrew the old cover from the back of the fridge and screw in the new access cover. Replacing this part may require specialized tools, complicated disassembly of the appliance, and repair experience. Please remember to unplug the refrigerator or shut off the house circuit breaker for the appliance before installing this part.
Part Specification
• This product is a Factory Certified Part. These three words represent quality parts and accessories designed specifically for your appliance. Time tested engineering that meets our strict quality specifications
• This product is a replacement part
• Package contains (1) SxS Refrigerator Rear Compartment Cover
• Tools Needed: Multi screwdriver
Weight : 6.80 lbs
Package Dimension : 9.07 x 3.07 x 35.19
Compatible Brands


About this product
This SxS Refrigerator Rear Compartment Cover covers the compressor, condenser and other components at the back of the appliance. Unscrew the old cover from the back of the fridge and screw in the new access cover. Replacing this part may require specialized tools, complicated disassembly of the appliance, and repair experience. Please remember to unplug the refrigerator or shut off the house circuit breaker for the appliance before installing this part.
Part Specification
• This product is a Factory Certified Part. These three words represent quality parts and accessories designed specifically for your appliance. Time tested engineering that meets our strict quality specifications
• This product is a replacement part
• Package contains (1) SxS Refrigerator Rear Compartment Cover
• Tools Needed: Multi screwdriver
Part Specification
• This product is a Factory Certified Part. These three words represent quality parts and accessories designed specifically for your appliance. Time tested engineering that meets our strict quality specifications
• This product is a replacement part
• Package contains (1) SxS Refrigerator Rear Compartment Cover
• Tools Needed: Multi screwdriver
Weight : 6.80 lbs
Package Dimension : 9.07 x 3.07 x 35.19
The following parts are replaced by this product
- 2204203
- 2252036
- 2188755
- 2176140
Step 1: Prepare to Replace the Whirlpool WP2188755 Cover-Unit
Before you start the project, make sure that you have all the necessary tools and parts. You will need a Phillips head screwdriver, flathead screwdriver, a drill, an adjustable wrench, and replacement cover-unit for the Whirlpool WP2188755.
Step 2: Gain Access to the Whirlpool WP2188755 Cover-Unit
First, you need to gain access to the front of your Whirlpool WP2188755. To do this, unplug the refrigerator and move it away from the wall. Then, use your Phillips head screwdriver to remove the screws from the door of the refrigerator. Next, use a flathead screwdriver to carefully take off the cover-unit for the Whirlpool WP2188755.
Step 3: Install New Cover-Unit for Whirlpool WP2188755
Now, you can begin to install the new cover-unit. Place the new cover-unit over the opening and secure it into place with screws. Make sure to use a drill to ensure that the screws are properly tightened. Then, use the adjustable wrench to secure the unit in place.
Step 4: Finish Up
Once the new cover-unit is installed, you can finish up the installation by plugging the refrigerator back in and moving it back into its original position. Make sure to test if the door seal is secure to ensure proper efficiency of your refrigerator.
Please keep in mind, these instructions are for general guidance and should always be used in conjunction with the manufacturer's manual, if available.


