

Replacing the Washer Water Inlet Valve
Follow these steps to replace the water inlet valve and restore proper water flow to your washer.
1. Shut Off the Electricity and Water
- Unplug the washer from the wall outlet.
- Turn off both hot and cold water supply valves.
- Wear work gloves for safety.
- Have someone help you move the washer away from the wall.
2. Disconnect the Fill Hoses
- Mark which hose connects to the hot and cold inlets.
- Use channel lock pliers to carefully loosen and disconnect both hoses.
- Wipe up any spills immediately.
3. Release the Control Console
- Use a 1/4" nut driver to remove the screws at the back.
- Push the console back slightly.
- Slide a putty knife under one corner to release the clip.
- Repeat on the other side to free the panel.
4. Remove the Inlet Valve Mounting Screws
- Tip the console forward and rest it on top of the washer.
- Locate the inlet valve and remove the two hex-head screws.
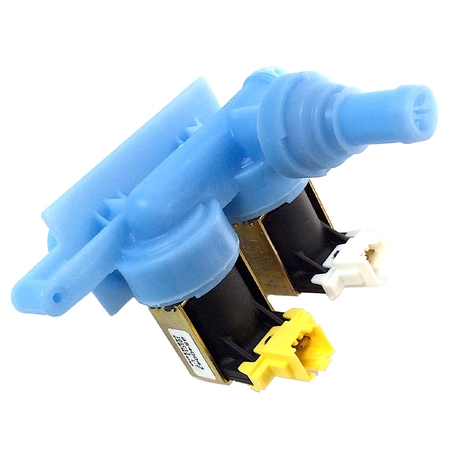
5. Detach the Wire Harness Connections
- Take a photo or label the wires before removing them.
- Pull each connector straight back from the solenoid coils.
6. Remove the Water Valve
- Pull the valve out and set it aside.
- Release spring clamps if hoses are connected.
7. Install the New Water Valve
- Push the new valve into position.
- Reconnect the wires using your photo or labels.
- Reinstall and snug the screws.
8. Secure the Control Panel
- Position the console back in place.
- Snap the clips in and tighten the screws.
9. Reinstall the Fill Hoses
- Attach the hot and cold hoses to the correct connections.
- Tighten with pliers but don’t overtighten.
10. Restore Water and Power
- Turn the water supply valves back on.
- Check for leaks.
- Plug the washer in and return it to position.
Related Category:
Shop Washer Water Inlet Valves
Find genuine washer inlet valves and float parts to maintain proper water flow and prevent leaks.
Login and Registration Form