Online Sale!
100% Guaranteed Genuine Parts
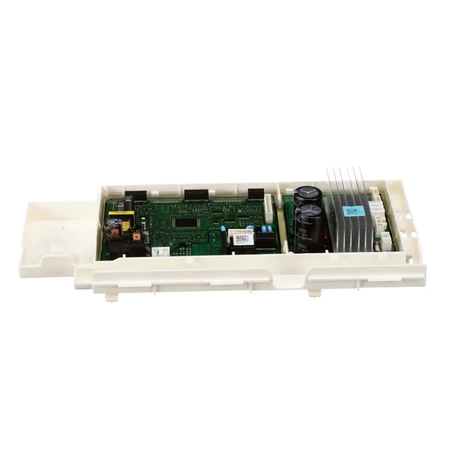
DC92-01982B Samsung Washer Control Board Assembly
Control Board Assembly works with some models of Samsung Washers
Weight : 2.093100 lbs
Dimension : 14.527500 x 6.968500 x 2.874000
Compatible Brands

About this product
Control Board Assembly works with some models of Samsung Washers
Weight : 2.093100 lbs
Dimension : 14.527500 x 6.968500 x 2.874000
No more associated models for this part.
Replacing the DC92-01982B Samsung Washer Control Board Assembly
Replacing a washer control board assembly can seem daunting, but with the right tools and knowledge, it is a fairly simple job. Read on to learn how to replace a DC92-01982B Samsung Washer Control Board Assembly with ease.
Tools Needed:
• Phillips head screwdriver
• Flathead screwdriver
• New DC92-01982B Samsung washer control board assembly
Step 1: Unplug the power cord from the wall outlet. Make sure all connections are completely disconnected before proceeding.
Step 2: Remove the back panel of the washer by loosening the screws located at the bottom of the unit and then pulling the panel off.
Step 3: Locate the existing DC92-01982B Samsung washer control board assembly. This is typically located on the upper right-hand side of the unit.
Step 4: Disconnect any wires connected to the control board assembly. This may require a Phillips head screwdriver.
Step 5: Remove the screws securing the control board assembly to the unit. This may also require a Phillips head screwdriver.
Step 6: Carefully remove the old control board assembly and set aside.
Step 7: Take the new DC92-01982B Samsung washer control board assembly and start by connecting any wires to the new board. This may require a flathead screwdriver.
Step 8: Secure the new control board assembly to the unit using the screws removed from the old board. Ensure that all screws are tightened securely.
Step 9: Reattach the back panel of the washer in its original position. Tighten the screws and make sure the panel is secure.
Step 10: Plug the power cord back into the wall outlet.
You are now finished replacing your DC92-01982B Samsung Washer Control Board Assembly! If you followed the instructions correctly, your washing machine should be functioning properly.
Please keep in mind, these instructions are for general guidance and should always be used in conjunction with the manufacturer's manual, if available.
Write Your Own Review


