

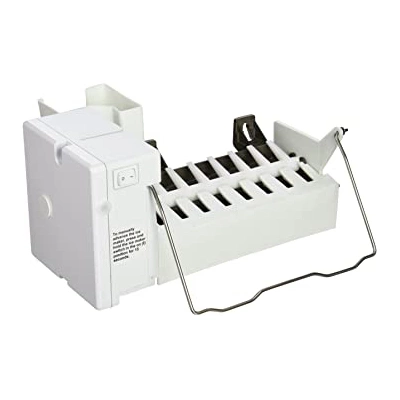
How to Replace a Refrigerator Ice Maker
While specific steps may vary depending on the refrigerator model, the following general instructions will guide you through the replacement process:
1. Unplug the Refrigerator
- Always start by unplugging the refrigerator to ensure your safety.
2. Access the Ice Maker
- Bottom Freezer Models: Remove freezer drawers and bins as needed.
- Larger Models: Remove the upper panel if required.
- Side-by-Side Models: Pull out the ice bin; use the release button if present.
3. Remove Ice Maker Cover or Obstructions
- Remove any cover or ice auger motor assembly blocking access.
4. Unmount the Ice Maker
- Remove screws or press retaining tabs to release the unit.
- Some models require loosening upper screws and removing a lower screw.
5. Disconnect Wiring
- Lift the ice maker off supports and disconnect the wire harness.
- Detach the thermal fuse if present.
6. Prepare the New Ice Maker
- Transfer parts from the old unit as needed: brackets, fill cup, arm, or wire harness.
7. Install the New Ice Maker
- Connect the wire harness and thermal fuse.
- Align the fill cup with the fill tube and mount the unit.
- Secure all screws or snap it into place.
8. Reassemble the Freezer
- Reinstall the auger motor, covers, or panels as needed.
- Slide the ice bin back into place and check alignment.
9. Restore Power and Test
- Plug the refrigerator back in.
- Verify that the new ice maker is working properly.
Related Category:
Shop Refrigerator Ice Maker Parts
Find genuine ice maker replacement parts for your refrigerator. Get trays, fill cups, wire harnesses, brackets and more to keep your ice fresh and consistent.