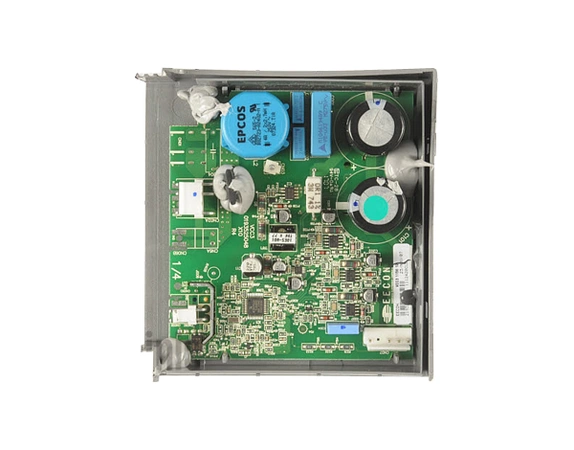
How to Replace a Refrigerator Electronic Control Board
Follow this step-by-step guide to replace your refrigerator’s electronic control board safely and correctly.
Step 1: Disconnect Electrical Power
- Pull the refrigerator away from the wall.
- Unplug the power cord to disconnect electricity.
- If necessary, shut off and disconnect the water line.
Step 2: Remove the Control Board Cover
- Locate the cover—usually on the rear or inside the fridge.
- Remove all screws with a Phillips screwdriver.
- Support the panel as you remove the final screw.
Step 3: Detach the Wiring from the Control Board
- Label each wire or take a reference photo.
- Use pliers or a screwdriver to release any locking tabs.
- Disconnect all wire harnesses.
Step 4: Remove the Electronic Control Board
- Use a flat-head screwdriver to release plastic locking tabs.
- Carefully remove the old board.
Step 5: Install the New Electronic Control Board
- Snap the new board into the mounting tabs or slots.
- Reconnect the wiring according to your photo or labels.
- Use an anti-static strap or ground yourself before touching the board.
Step 6: Reinstall the Control Board Cover
- Align the cover and secure with screws.
- Ensure the panel is flush and properly sealed.
Step 7: Restore Power and Reconnect Water (if applicable)
- Plug the refrigerator back in.
- Reconnect the water line and turn the valve on.
- Carefully slide the refrigerator back into place.
Related Category:

Shop Refrigerator Electronic Control Board
Find original refrigerator electronic control boards, timers, and overlays for precise, reliable operation.

