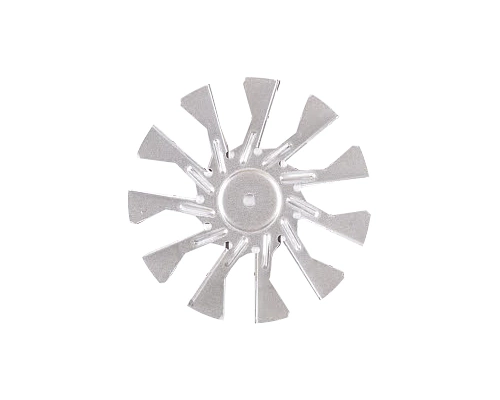
How to Replace Your Oven Fan: Step-by-Step Guide
A malfunctioning oven fan is a common cause of uneven heating. Fortunately, replacing it is simple if you follow the steps below.
Step 1: Unplug Your Cooker
- Always unplug the cooker from the wall socket.
- This prevents any electrical accidents while working.
Step 2: Remove the Oven Door
- Remove the oven door for easier access.
- Most doors are hinged and can be lifted free easily.
Step 3: Remove the Back Plate Inside the Oven
- Unscrew the internal back panel (typically 2–6 screws).
- Some ovens have a visible fan—if so, this step may be shorter.
Step 4: Check for Visual Signs of Fan Failure
- Inspect the fan blade for burning, breakage, or wear.
- Failure isn’t always visible—test functionality if unsure.
Step 5: Remove and Replace the Fan
- Unscrew the old fan and disconnect wiring.
- Take a photo before removing wires to guide reconnection.
- Install the new fan in the same position and orientation.
Tip:
- If the fan is mounted from the rear, slide the appliance out from the cabinet and access the back panel instead.
Related Category:

Shop Oven Blower Wheels & Fan Blades
Find OEM replacement oven fan blades, motors, and blower wheels for a perfect fit and optimal performance.

